
Setup MinIO Object Storage on Kubernetes

MinIO is a popular open-source object storage solution, ideal for handling unstructured data at high performance. Integrating MinIO into Kubernetes allows you to deploy scalable storage in your cloud-native applications. In this article, we'll walk you through setting up MinIO in a Kubernetes environment
Prerequisites
Before starting, ensure that the following tools are installed:
- Kubernetes cluster up and running
- kubectl for interacting with the cluster
- OpenSSL installed on your machine for generating certificates
Create Self-Signed Certificates
MinIO requires TLS certificates for secure communication. First, generate self-signed certificates for both the MinIO API and UI.
MinIO API
openssl req -x509 -nodes -days 365 \
    -subj "/C=DE/ST=Berlin/L=Berlin/O=appdev24/OU=dev/CN=minio.local" \
    -newkey rsa:4096 -keyout selfsigned.key \
    -out selfsigned.crt
MinIO UI
openssl req -x509 -nodes -days 365 \
    -subj "/C=DE/ST=Berlin/L=Berlin/O=appdev24/OU=dev/CN=minio-ui.local" \
    -newkey rsa:4096 -keyout selfsigned-ui.key \
    -out selfsigned-ui.crt
Update hosts file
To ensure that the MinIO domain names resolve correctly, update your /etc/hosts file with the following entries:
sudo vi /etc/hosts

# Append the server entry
127.0.0.1	minio.local
127.0.0.1	minio-ui.local
Create Namespace
A dedicated namespace helps organize resources. Create one using the following command:
kubectl create namespace mlopsCreate Kubernetes Secret
Then, create Kubernetes secrets to store the TLS certificate and key within the cluster:
kubectl create secret tls minio-tls --namespace mlops --cert=selfsigned.crt --key=selfsigned.key
kubectl create secret tls minio-ui-tls --namespace mlops --cert=selfsigned-ui.crt --key=selfsigned-ui.key
Create Persistent Volumes
MinIO requires persistent storage for data. Define persistent volumes (PVs) and persistent volume claims (PVCs) as follows:
# minio-sc-pv-pvc.yaml
apiVersion: storage.k8s.io/v1
kind: StorageClass
metadata:
  name: docker-sc
provisioner: docker.io/hostpath
---
apiVersion: v1
kind: PersistentVolume
metadata:
  name: minio-pv
spec:
  storageClassName: docker-sc # hostpath
  capacity:
    storage: 5Gi
  accessModes:
    - ReadWriteOnce
  persistentVolumeReclaimPolicy: Retain
  hostPath:
    path: "/Users/saurav/Tech/Kubernetes/pv_pvc/data/minio" # Host path on MacOS
---
apiVersion: v1
kind: PersistentVolumeClaim
metadata:
  name: minio-pvc
  namespace: mlops
spec:
  storageClassName: docker-sc
  accessModes:
    - ReadWriteOnce
  resources:
    requests:
      storage: 5Gi
kubectl apply -f minio-sc-pv-pvc.yamlEnsure that your PVC matches the configuration in your Kubernetes cluster.
Create Deployment
Now you’re ready to deploy your minio. Use the following configuration to create a Kubernetes deployment for your minio object storage:
minio-deploy.yaml
apiVersion: apps/v1
kind: Deployment
metadata:
  name: minio-deployment
  namespace: mlops
  labels:
    app: minio-deployment
spec:
  replicas: 1
  selector:
    matchLabels:
      app: minio
  template:
    metadata:
      labels:
        app: minio
    spec:
      containers:
        - name: minio-server
          image: quay.io/minio/minio:latest
          ports:
          - containerPort: 9000
            hostPort: 9000
          - containerPort: 9001
            hostPort: 9001
          env:
            - name: MINIO_ROOT_USER
              value: admin
            - name: MINIO_ROOT_PASSWORD
              value: Password1234
          command:
            - /bin/bash
            - -c
          args:
              - minio server /data --console-address :9001
          volumeMounts:
            - mountPath: /data
              name: data
          resources:
            limits:
              cpu: 200m
              memory: 256Mi
            requests:
              cpu: 100m
              memory: 128Mi
          readinessProbe:
            httpGet:
              path: /minio/health/ready
              port: 9000
          livenessProbe:
            httpGet:
              path: /minio/health/live
              port: 9000
      volumes:
        - name: data
          persistentVolumeClaim:
            claimName: minio-pvc
kubectl apply -f minio-deploy.yamlThis deployment will set up your minio server, serving API on port 9000 and UI on port 9001.
Create Service
To access your minio, you’ll need to expose it as a service in Kubernetes. Use a ClusterIP or NodePort service type, depending on your environment:
minio-svc.yaml
apiVersion: v1
kind: Service
metadata:
  name: minio-service
  namespace: mlops
  labels:
    app: minio-service
spec:
  type: ClusterIP
  selector:
    app: minio
  ports:
  - name: api
    protocol: TCP
    port: 9000
    targetPort: 9000
  - name: webui
    protocol: TCP
    port: 9001
    targetPort: 9001
kubectl apply -f minio-svc.yamlCreate Ingress
To make the minio accessible through an easy-to-remember URL, set up Nginx ingress:
minio-ing.yaml
apiVersion: networking.k8s.io/v1
kind: Ingress
metadata:
  name: minio-ingress
  namespace: mlops
  labels:
    app: minio-ingress
  annotations:
    nginx.ingress.kubernetes.io/backend-protocol: "HTTP"
    nginx.ingress.kubernetes.io/ssl-redirect: "true"
spec:
  ingressClassName: nginx
  rules:
  - host: minio.local
    http:
      paths:
      - path: /
        pathType: Prefix
        backend:
          service:
            name: minio-service
            port:
              number: 9000
  tls:
  - hosts:
    - minio.local
    secretName: minio-tls
kubectl apply -f minio-ing.yamlminio-ui-ing.yaml
apiVersion: networking.k8s.io/v1
kind: Ingress
metadata:
  name: minio-ui-ingress
  namespace: mlops
  labels:
    app: minio-ui-ingress
  annotations:
    nginx.ingress.kubernetes.io/backend-protocol: "HTTP"
    nginx.ingress.kubernetes.io/ssl-redirect: "true"
spec:
  ingressClassName: nginx
  rules:
  - host: minio-ui.local
    http:
      paths:
      - path: /
        pathType: Prefix
        backend:
          service:
            name: minio-service
            port:
              number: 9001
  tls:
  - hosts:
    - minio.local
    secretName: minio-ui-tls
kubectl apply -f minio-ui-ing.yamlTest MinIO
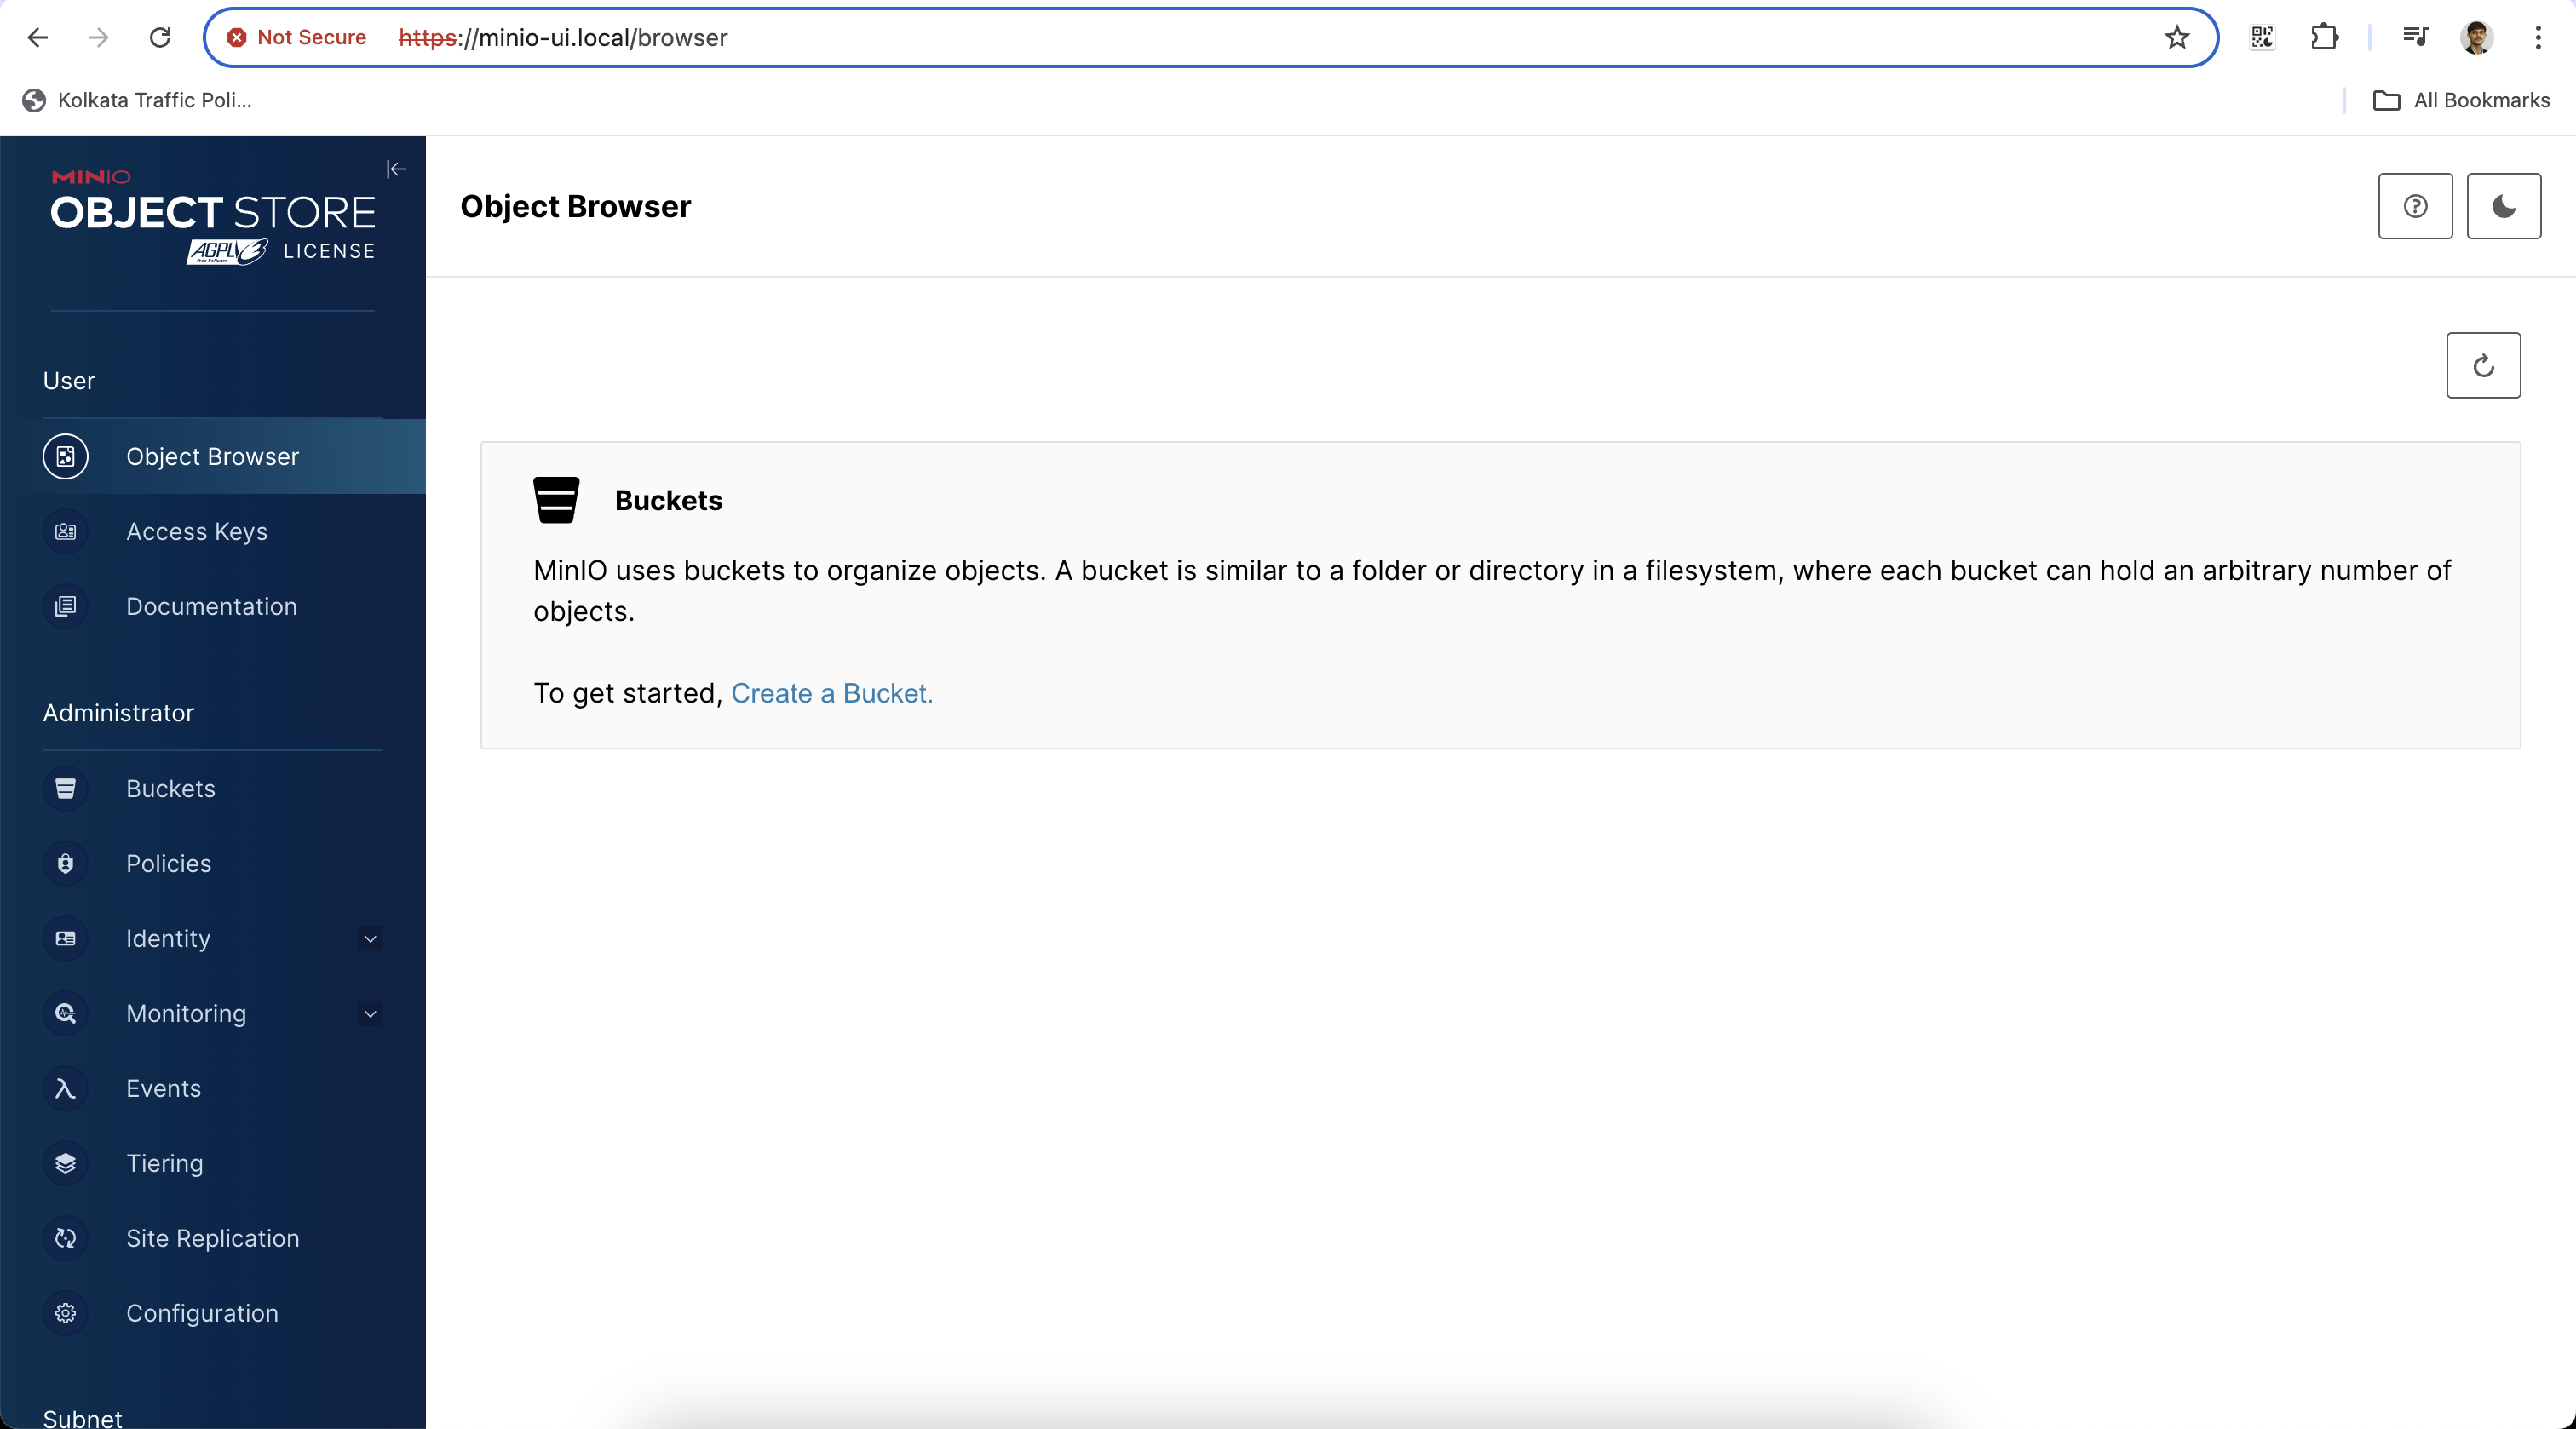
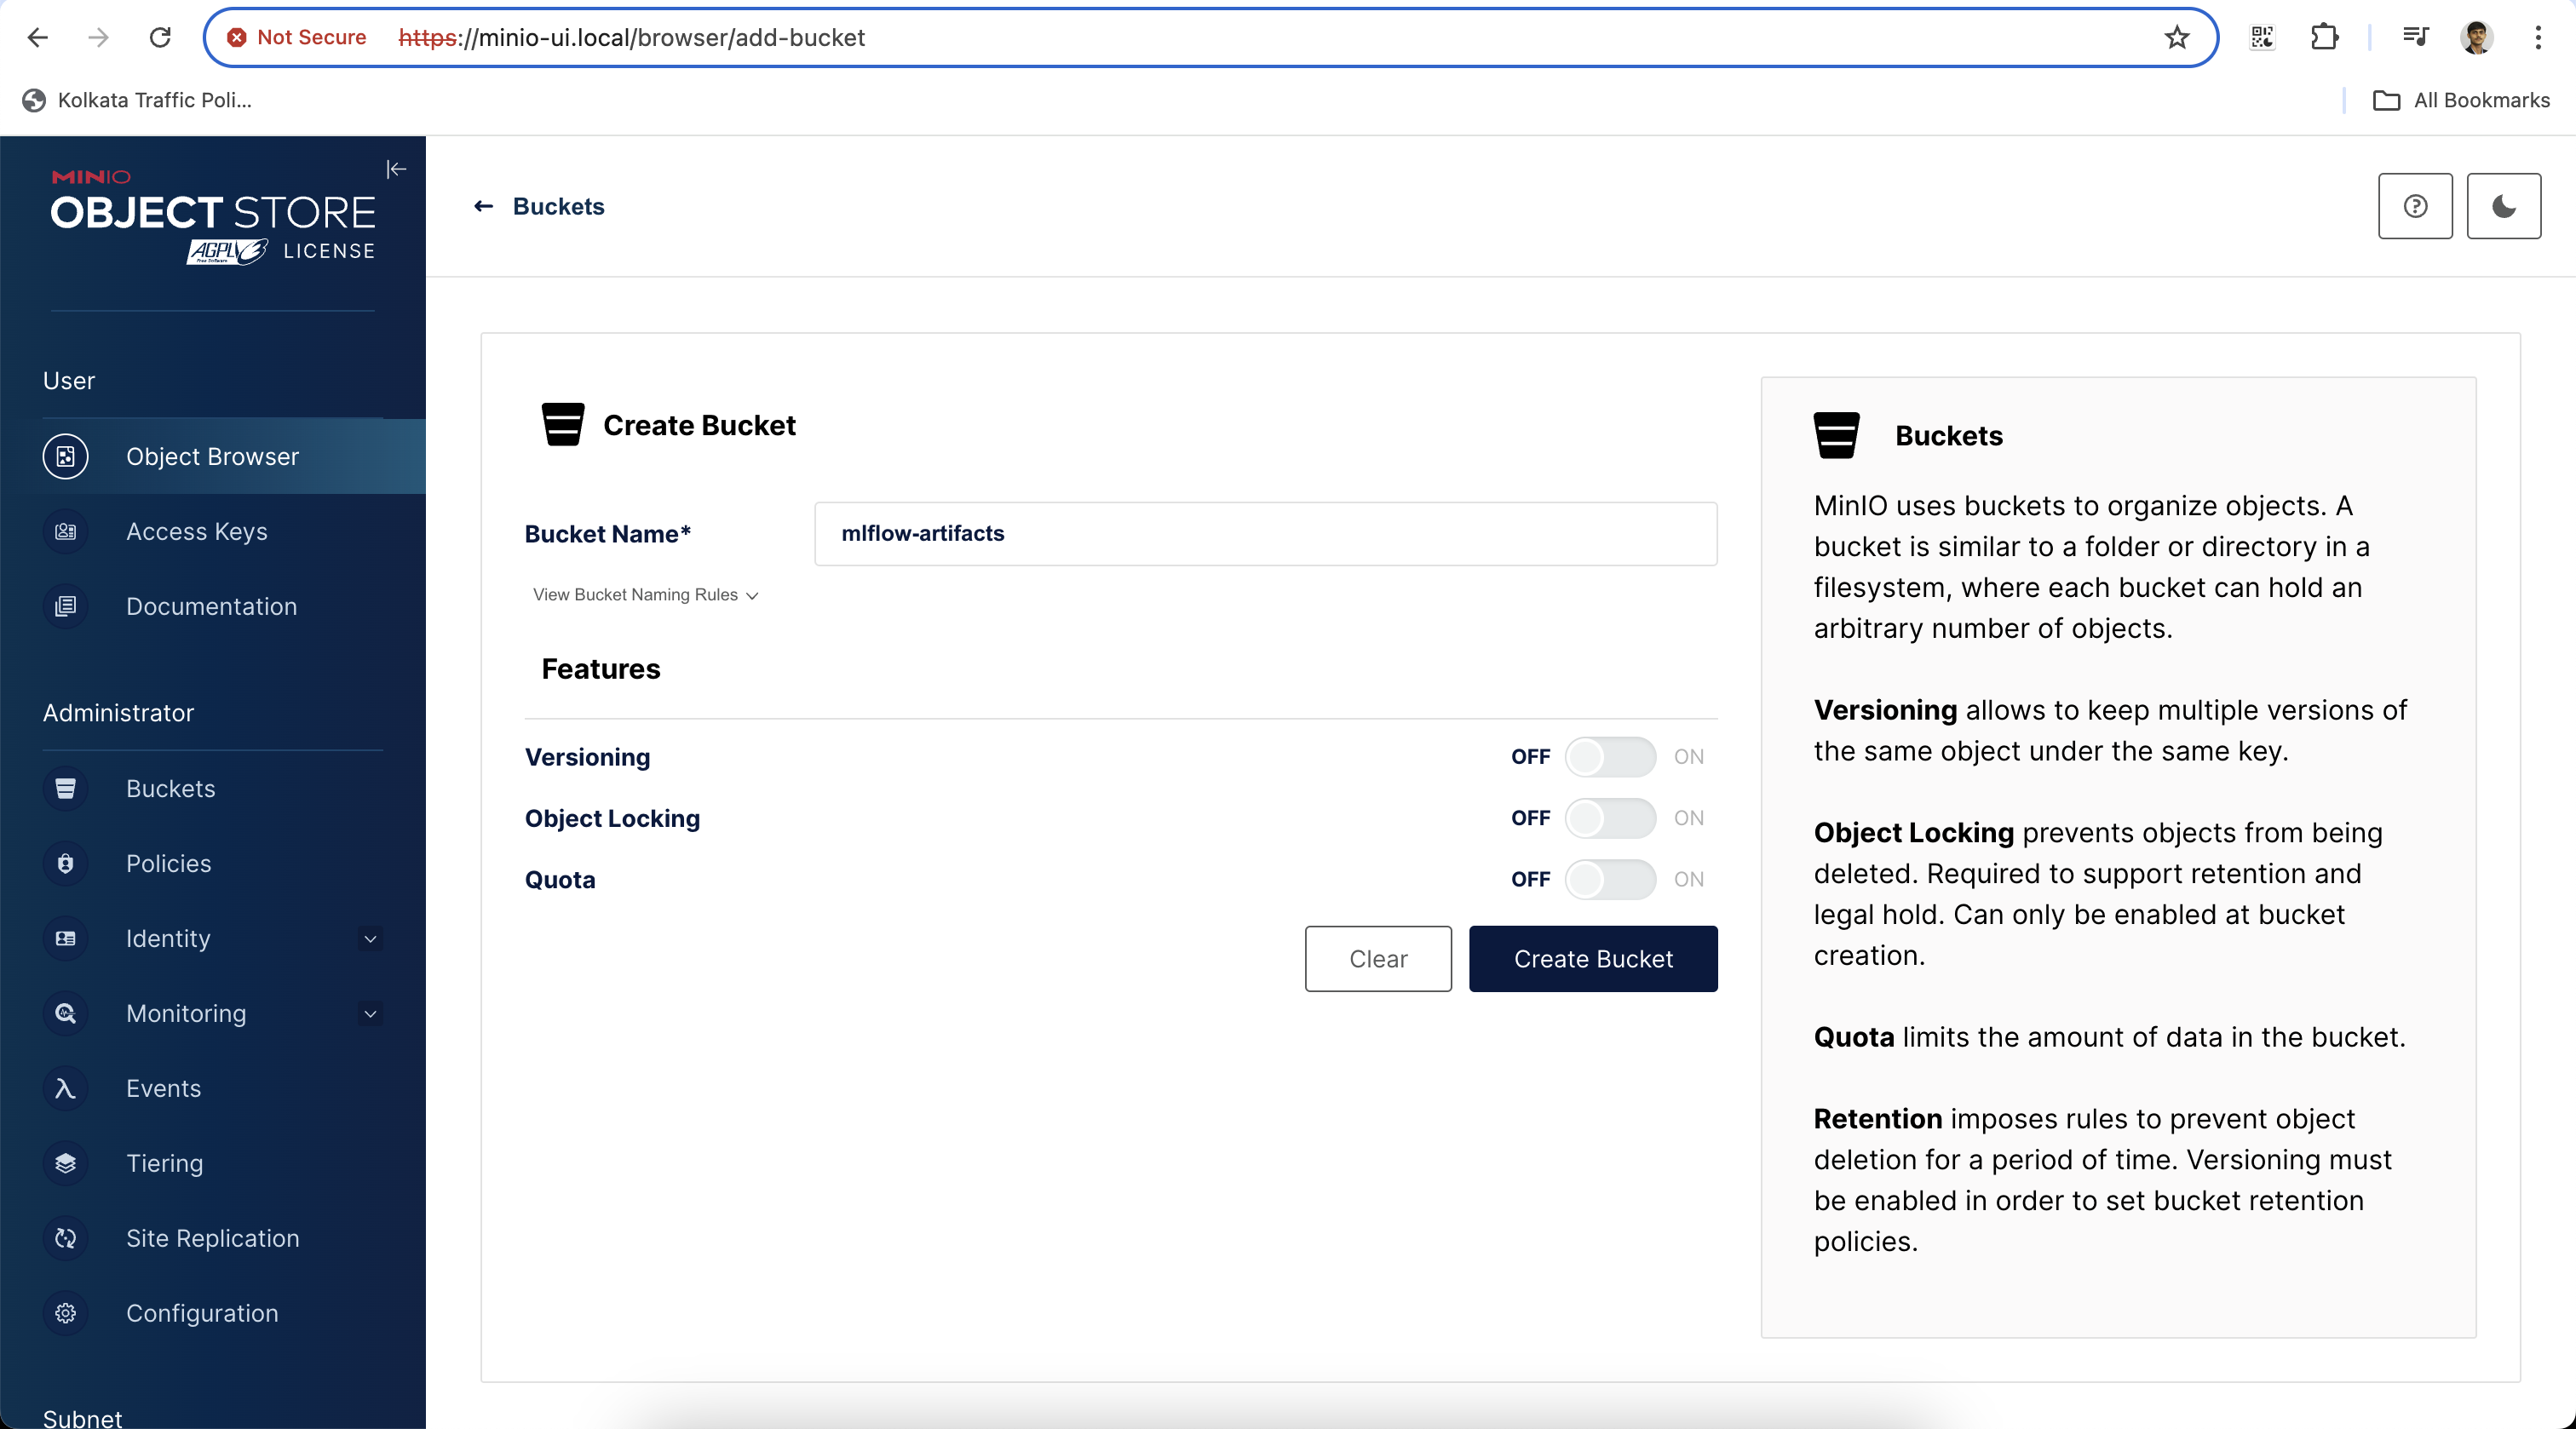
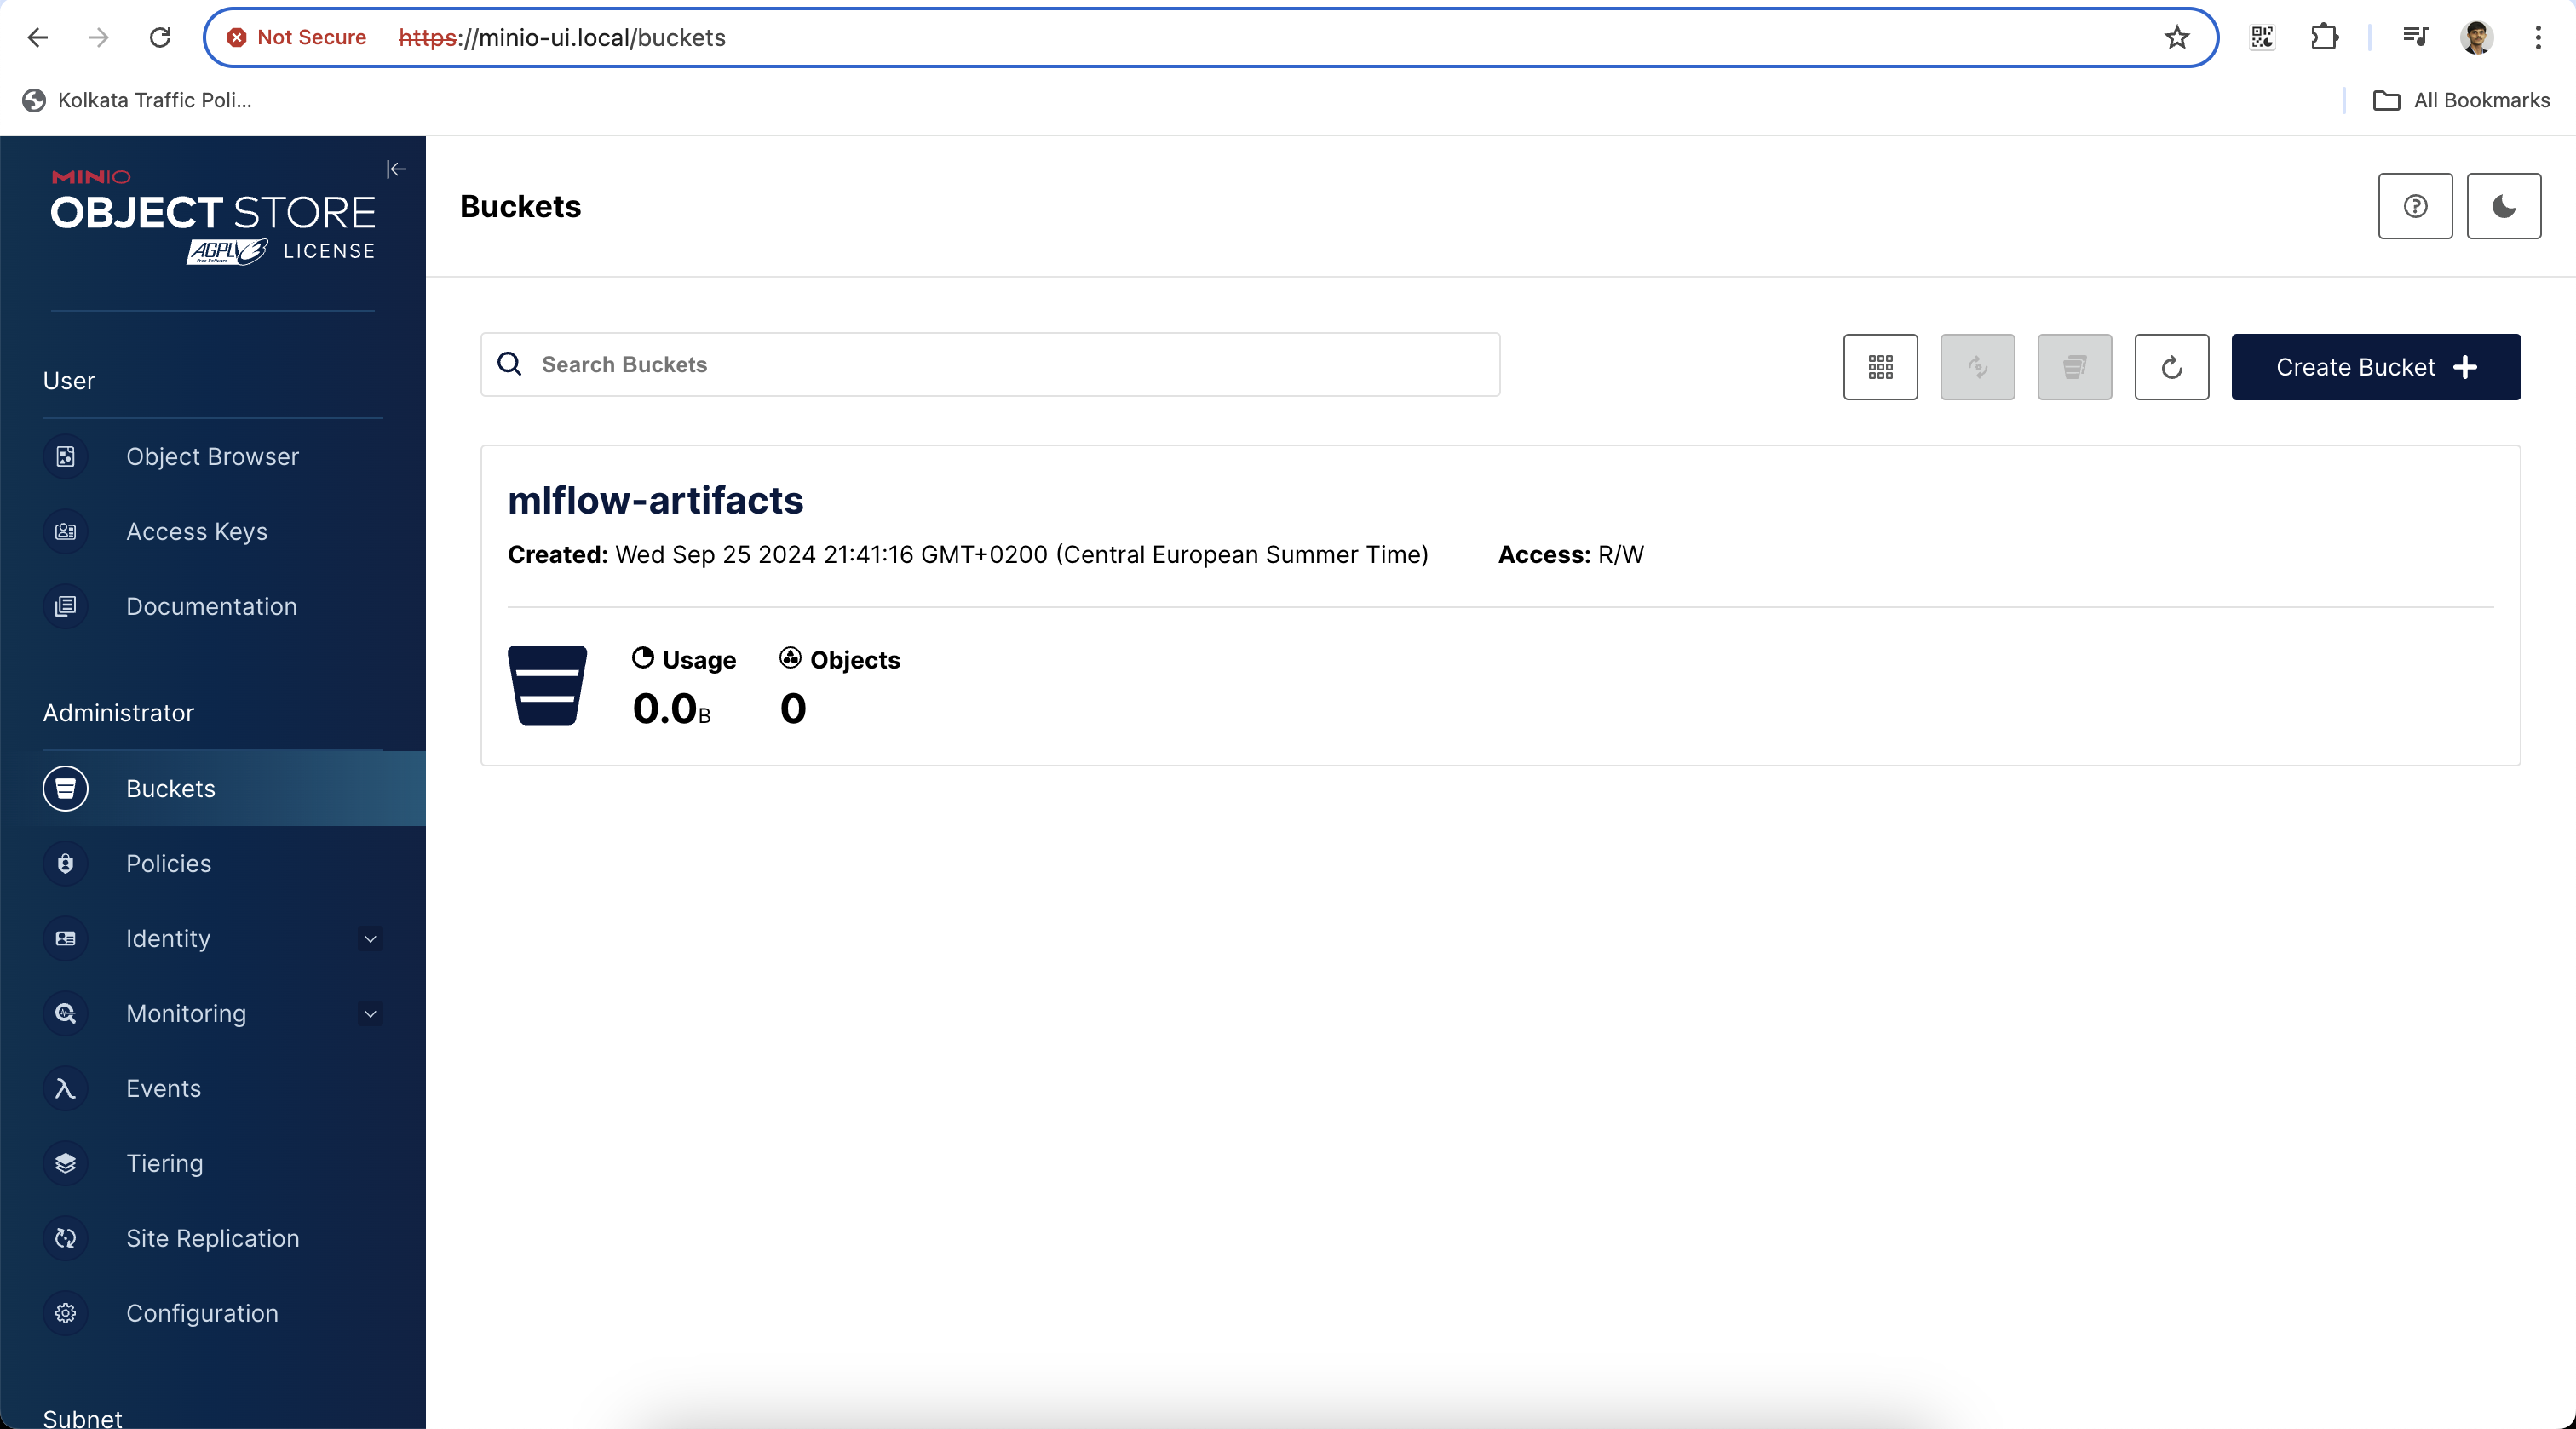
Finally, test your setup by creating a bucket and access keys:
Visit https://minio-ui.local and log in using the credentials:
- Username: admin
- Password: Password1234
Create a bucket and generate access keys for object storage management.
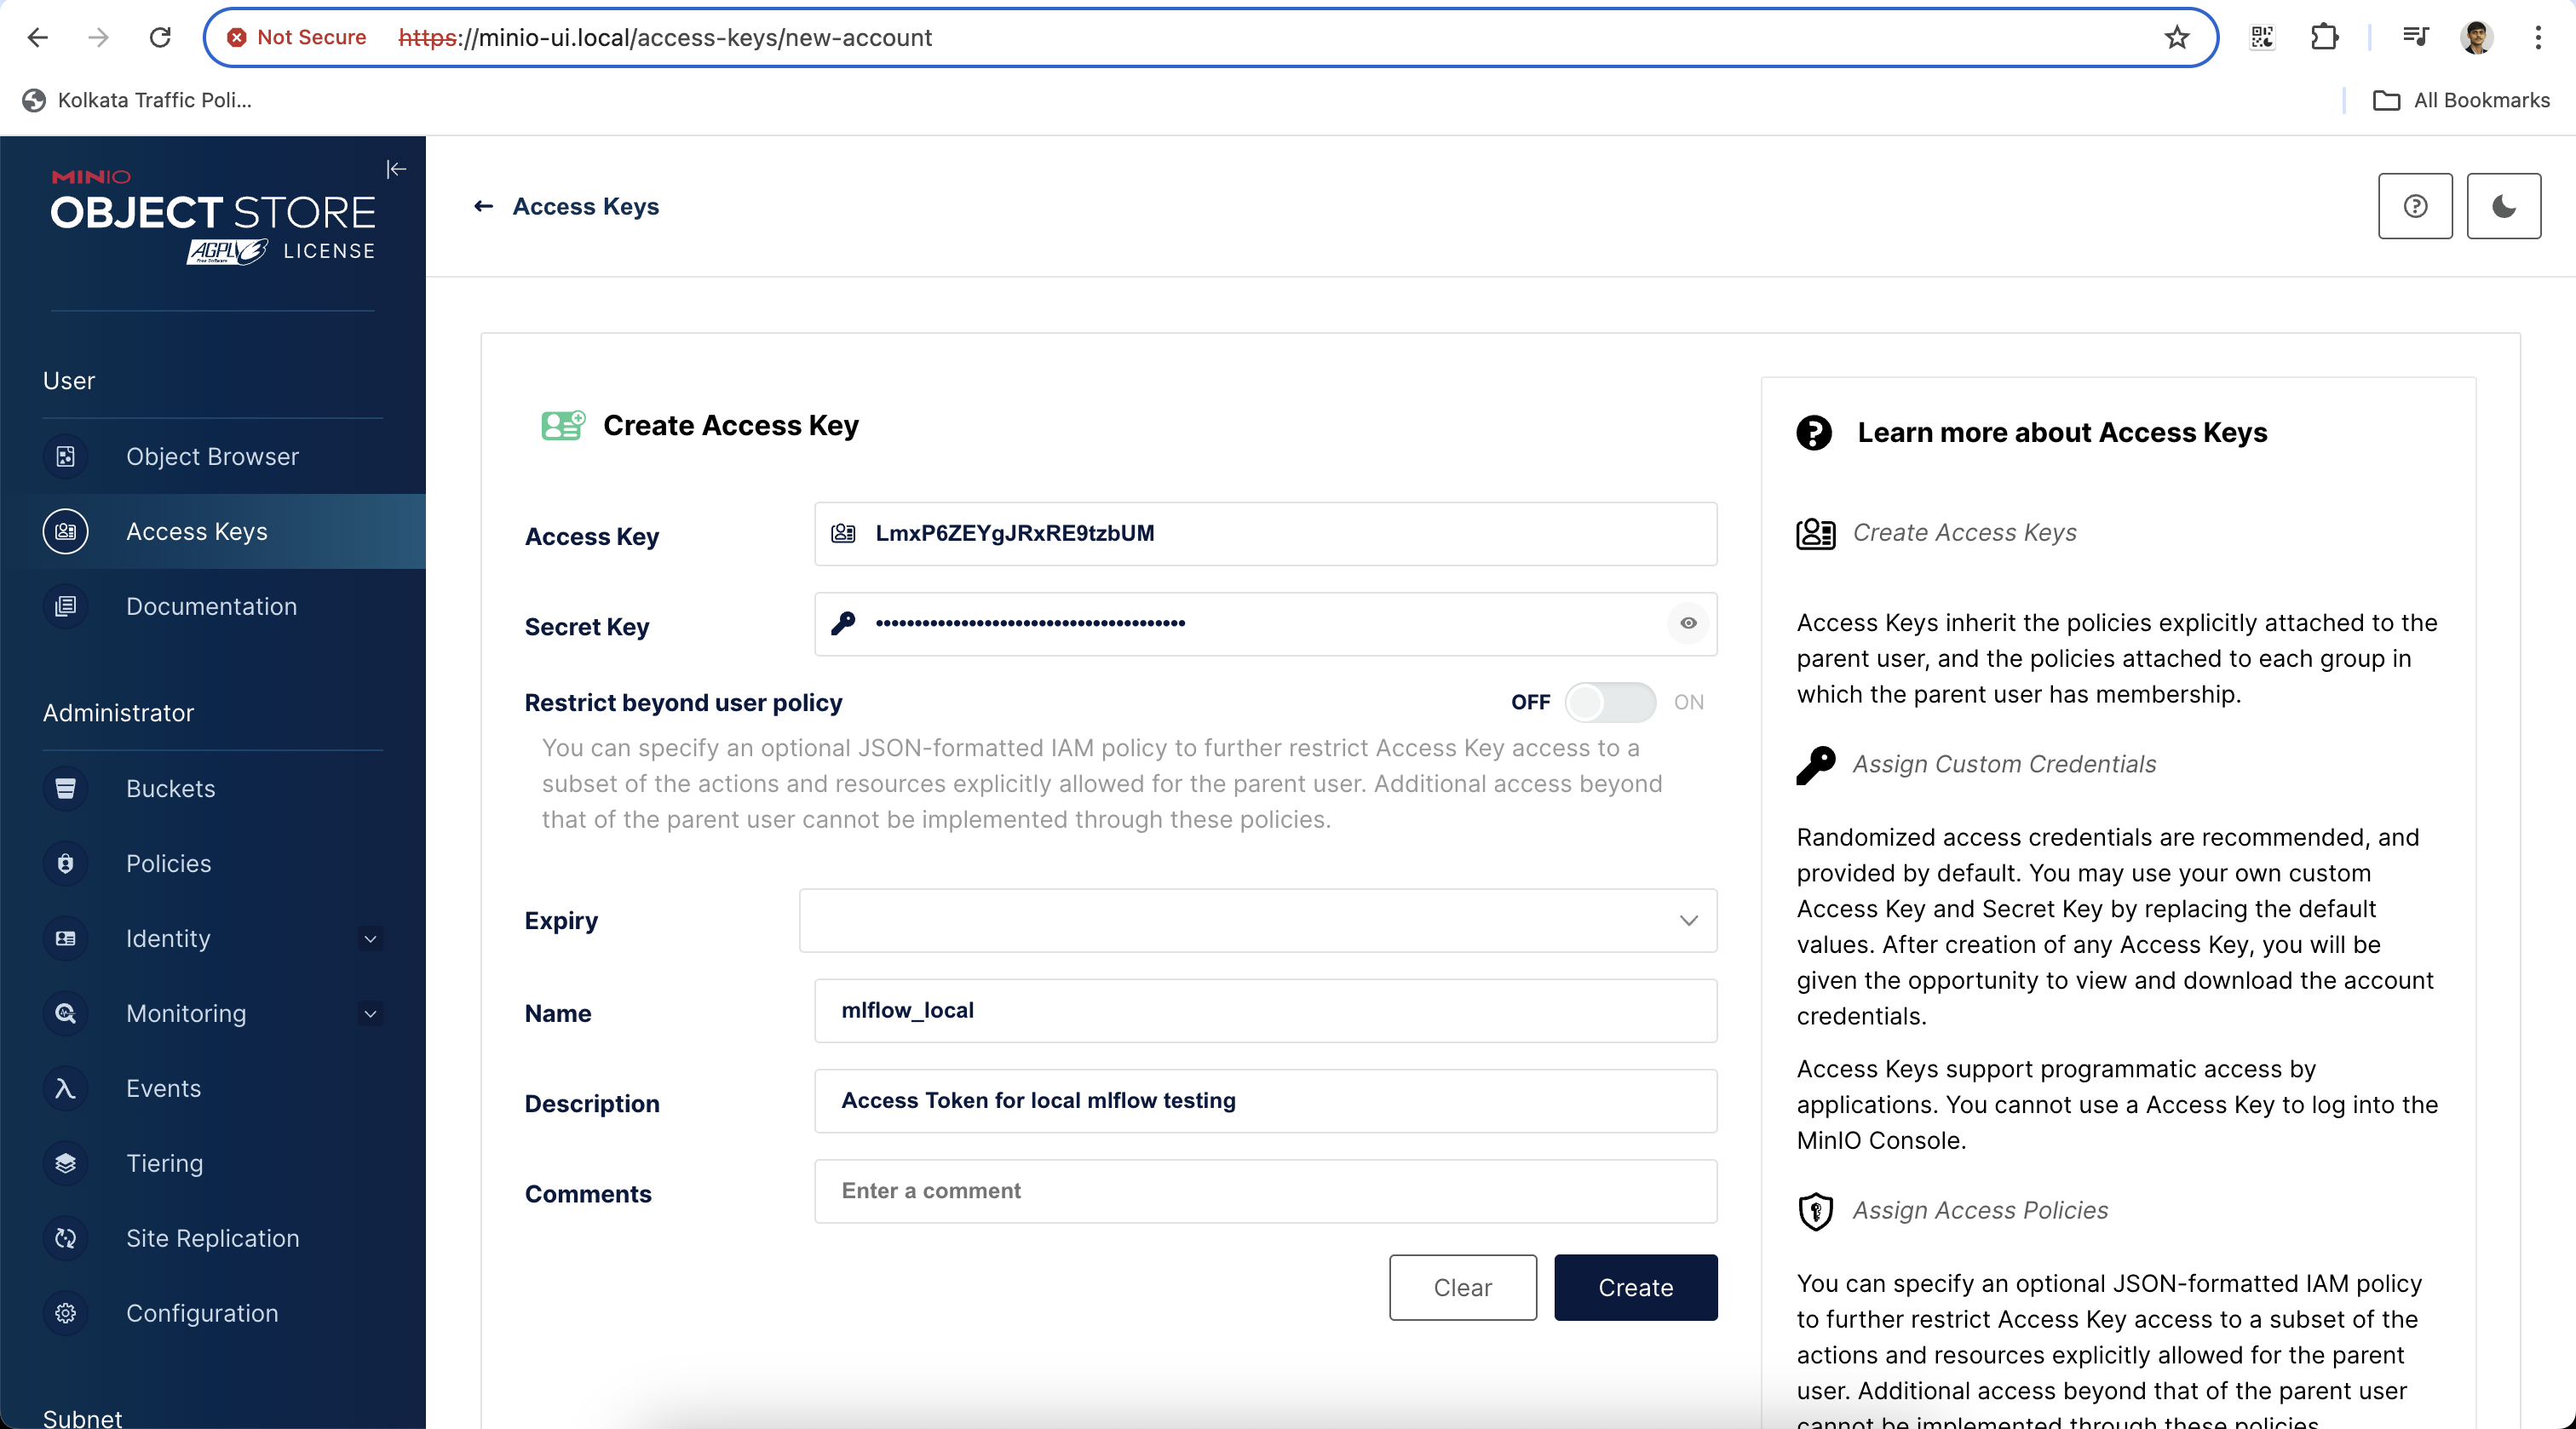
Access Key: LmxP6ZEYgJRxRE9tzbUM
Secret Key: bwygxJDYc9PmYqthNPhdNFVIeaBrpk4OsPMMVuSb
By following these steps, you'll have MinIO successfully deployed on your Kubernetes cluster, allowing you to handle object storage efficiently with high scalability.
