Setup a Private Container Registry

A private local container registry enables you to securely store and manage your Docker images, improving efficiency, control, and security. This guide will walk you through the setup of Docker Distribution Registry in Kubernetes cluster.
A private container registry is beneficial for organizations seeking full control over their container images. Instead of using a third-party registry like Docker Hub, a local registry offers improved security, data privacy, and network performance, particularly in environments where data sovereignty and fast access to large files are critical.
Docker Distribution Registry is an open source Distribution implementation for storing and distributing of container images and artifacts.
Create Self-Signed Certificate
Pre-requisite: openssl must be installed in MacOS
openssl req -x509 -nodes -days 365 \
    -subj "/C=DE/ST=Berlin/L=Berlin/O=appdev24/OU=dev/CN=registry.local" \
    -newkey rsa:4096 -keyout selfsigned.key \
    -out selfsigned.crt
-subj switch option:
- Country Name (2 letter code): DE
- State or Province Name (full name): Berlin
- Locality Name (city): Berlin
- Organization Name (company): appdev24
- Organizational Unit Name (department): dev
- Common Name (server FQDN): registry.local
Update hosts file
To ensure your system recognizes the registry domain, update the /etc/hosts file by adding the domain name and pointing it to your localhost or cluster IP:
sudo vi /etc/hosts

# Append the server entry
127.0.0.1	registry.local
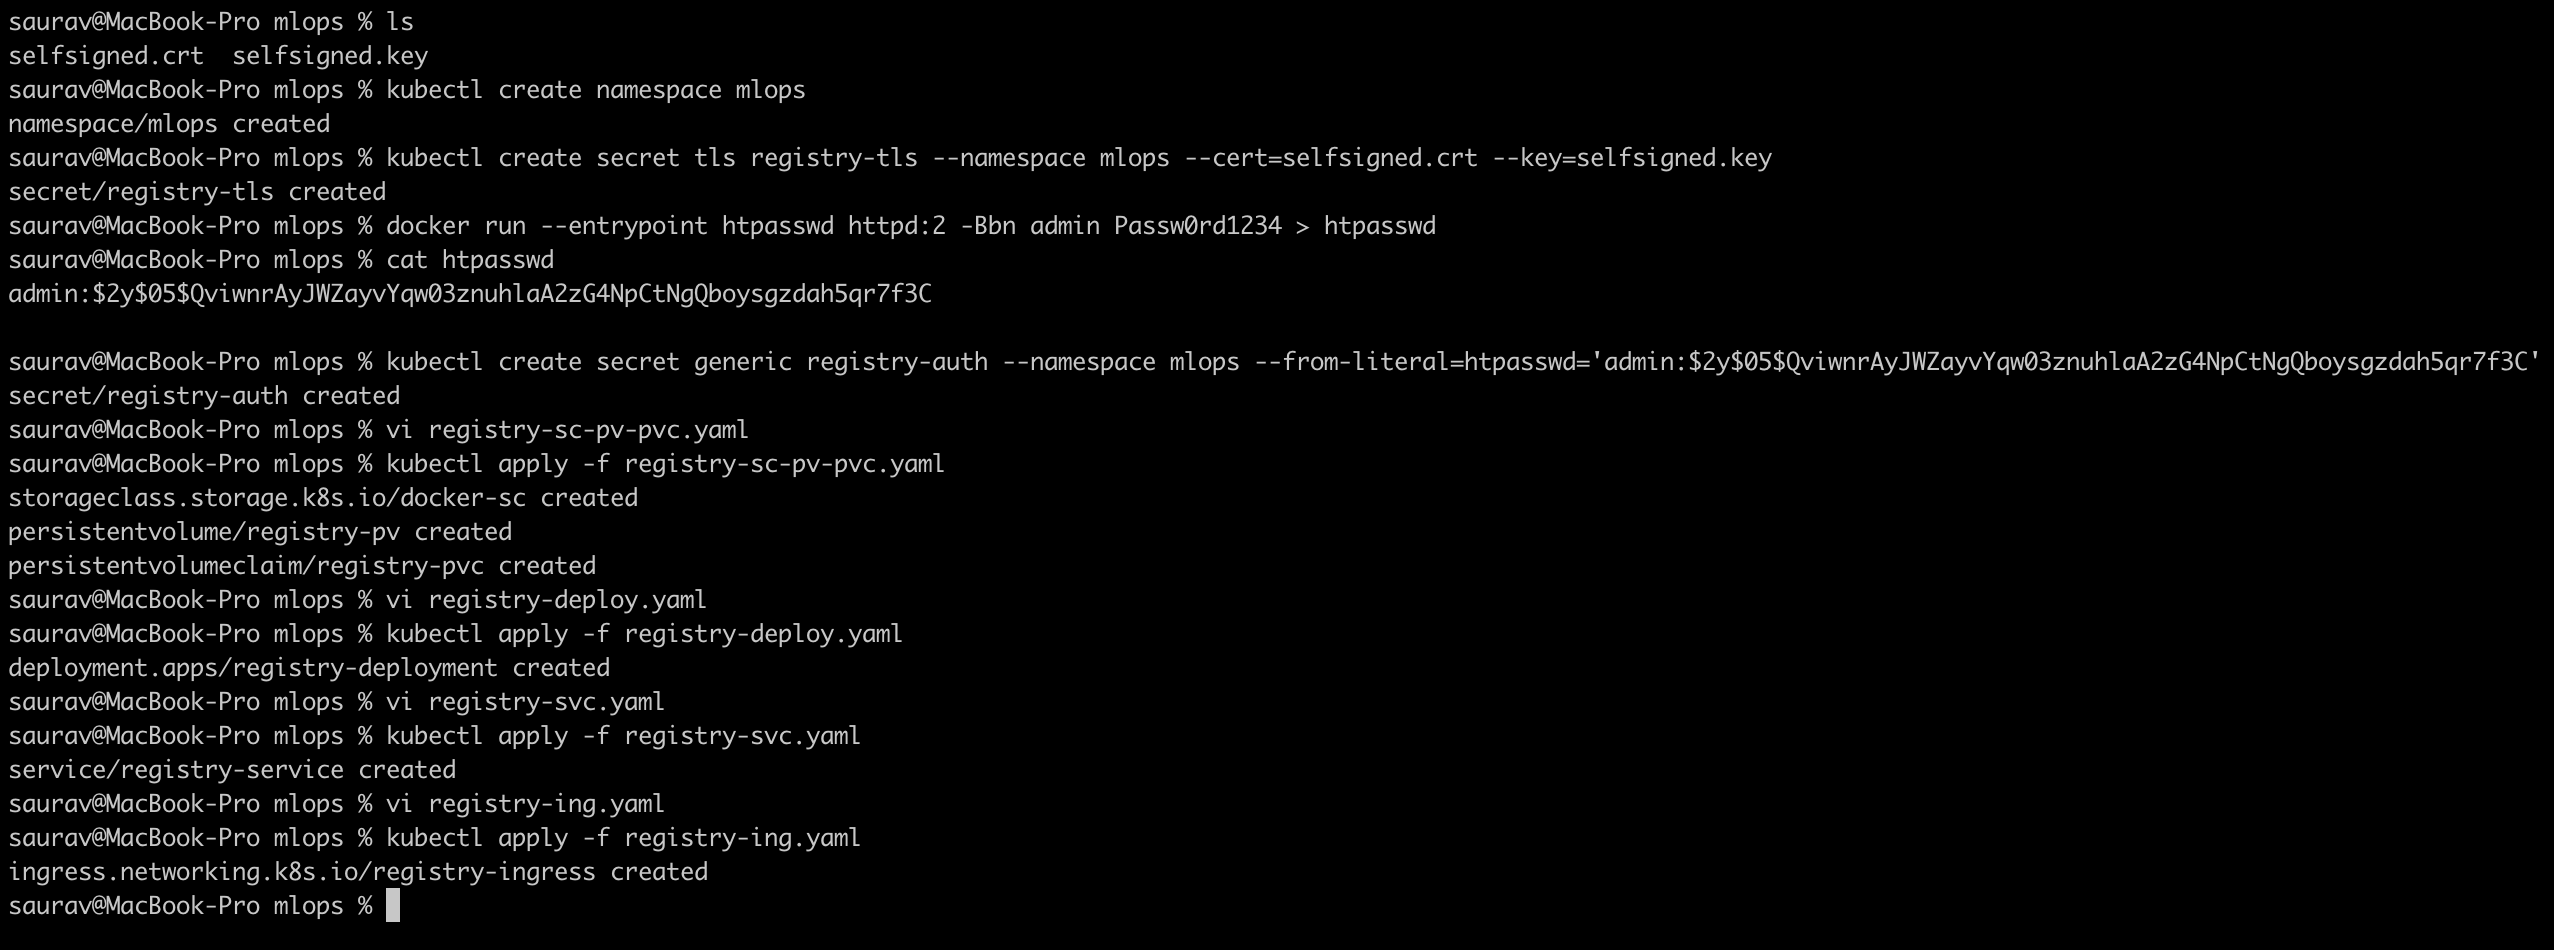
Create Namespace
Next, create a dedicated namespace for your registry in your Kubernetes cluster:
kubectl create namespace mlopsCreate Kubernetes Secret
Then, create Kubernetes secrets to store the TLS certificate and key within the cluster:
kubectl create secret tls registry-tls --namespace mlops --cert=selfsigned.crt --key=selfsigned.keyCreate Basic Authentication User
You will also need to create a secret for basic authentication (username and password) for the registry.
Create a password file htpasswd with your username & password. For example “admin” and “Passw0rd1234”.
docker run --entrypoint htpasswd httpd:2 -Bbn admin Passw0rd1234 > htpasswd
# cat htpasswd
# admin:$2y$05$QviwnrAyJWZayvYqw03znuhlaA2zG4NpCtNgQboysgzdah5qr7f3C
Create Kubernetes Secret
Create as Kubernetes Secret
kubectl create secret generic registry-auth --namespace mlops --from-literal=htpasswd='admin:$2y$05$QviwnrAyJWZayvYqw03znuhlaA2zG4NpCtNgQboysgzdah5qr7f3C'Create Persistent Volumes
Persistent volumes are essential to store the container images in your private registry. Define a persistent volume (PV) and persistent volume claim (PVC) in Kubernetes:
# registry-sc-pv-pvc.yaml
apiVersion: storage.k8s.io/v1
kind: StorageClass
metadata:
  name: docker-sc
provisioner: docker.io/hostpath
---
apiVersion: v1
kind: PersistentVolume
metadata:
  name: registry-pv
spec:
  storageClassName: docker-sc # hostpath
  capacity:
    storage: 5Gi
  accessModes:
    - ReadWriteOnce
  persistentVolumeReclaimPolicy: Retain
  hostPath:
    path: "/Users/saurav/Tech/Kubernetes/pv_pvc/data/registry" # Host path on MacOS
---
apiVersion: v1
kind: PersistentVolumeClaim
metadata:
  name: registry-pvc
  namespace: mlops
spec:
  storageClassName: docker-sc
  accessModes:
    - ReadWriteOnce
  resources:
    requests:
      storage: 5Gi
kubectl apply -f registry-sc-pv-pvc.yamlEnsure that your PVC matches the configuration in your Kubernetes cluster.
Create Deployment
Now you’re ready to deploy your registry. Use the following configuration to create a Kubernetes deployment for your private container registry:
registry-deploy.yaml
apiVersion: apps/v1
kind: Deployment
metadata:
  name: registry-deployment
  namespace: mlops
  labels:
    app: registry-deployment
spec:
  replicas: 1
  selector:
    matchLabels:
      app: registry
  template:
    metadata:
      labels:
        app: registry
    spec:
      containers:
        - name: registry-server
          image: registry:2.8.3
          ports:
          - containerPort: 5000
          env:
            - name: REGISTRY_HTTP_TLS_CERTIFICATE
              value: /etc/ssl/docker/tls.crt
            - name: REGISTRY_HTTP_TLS_KEY
              value: /etc/ssl/docker/tls.key
            - name: REGISTRY_AUTH
              value: "htpasswd"
            - name: REGISTRY_AUTH_HTPASSWD_REALM
              value: "Registry Realm"
            - name: REGISTRY_AUTH_HTPASSWD_PATH
              value: "/auth/htpasswd"
            - name: REGISTRY_STORAGE_DELETE_ENABLED
              value: "true"
          command:
          - /bin/registry
          - serve
          - /etc/docker/registry/config.yml
          volumeMounts:
            - name: registry-storage
              mountPath: "/var/lib/registry"
            - name: registry-certs
              mountPath: "/etc/ssl/docker"
              readOnly: true
            - name: registry-auth
              mountPath: "/auth"
              readOnly: true
          resources:
            limits:
              cpu: 200m
              memory: 256Mi
            requests:
              cpu: 100m
              memory: 128Mi
          readinessProbe:
            httpGet:
              scheme: HTTPS
              path: /
              port: 5000
          livenessProbe:
            httpGet:
              scheme: HTTPS
              path: /
              port: 5000
      volumes:
        - name: registry-storage
          persistentVolumeClaim:
            claimName: registry-pvc
        - name: registry-certs
          secret:
            secretName: registry-tls
        - name: registry-auth
          secret:
            secretName: registry-auth
            items:
            - key: htpasswd
              path: htpasswd
kubectl apply -f registry-deploy.yamlThis deployment will set up your container registry, running on port 5000.
Create Service
To access your registry, you’ll need to expose it as a service in Kubernetes. Use a ClusterIP or NodePort service type, depending on your environment:
registry-svc.yaml
apiVersion: v1
kind: Service
metadata:
  name: registry-service
  namespace: mlops
  labels:
    app: registry-service
spec:
  type: ClusterIP
  selector:
    app: registry
  ports:
  - name: tcp
    protocol: TCP
    port: 5000
    targetPort: 5000
kubectl apply -f registry-svc.yamlCreate Ingress
To make the registry accessible through an easy-to-remember URL, set up Nginx ingress:
registry-ing.yaml
apiVersion: networking.k8s.io/v1
kind: Ingress
metadata:
  name: registry-ingress
  namespace: mlops
  labels:
    app: registry-ingress
  annotations:
    nginx.ingress.kubernetes.io/backend-protocol: "HTTPS"
    nginx.ingress.kubernetes.io/ssl-passthrough: "true"
    nginx.ingress.kubernetes.io/ssl-redirect: "true"
spec:
  ingressClassName: nginx
  rules:
  - host: registry.local
    http:
      paths:
      - path: /
        pathType: Prefix
        backend:
          service:
            name: registry-service
            port:
              number: 5000
  tls:
  - hosts:
    - registry.local
    secretName: registry-tls
kubectl apply -f registry-ing.yaml
This configuration will route traffic to the registry using Nginx ingress, secured by TLS.
Test Registry
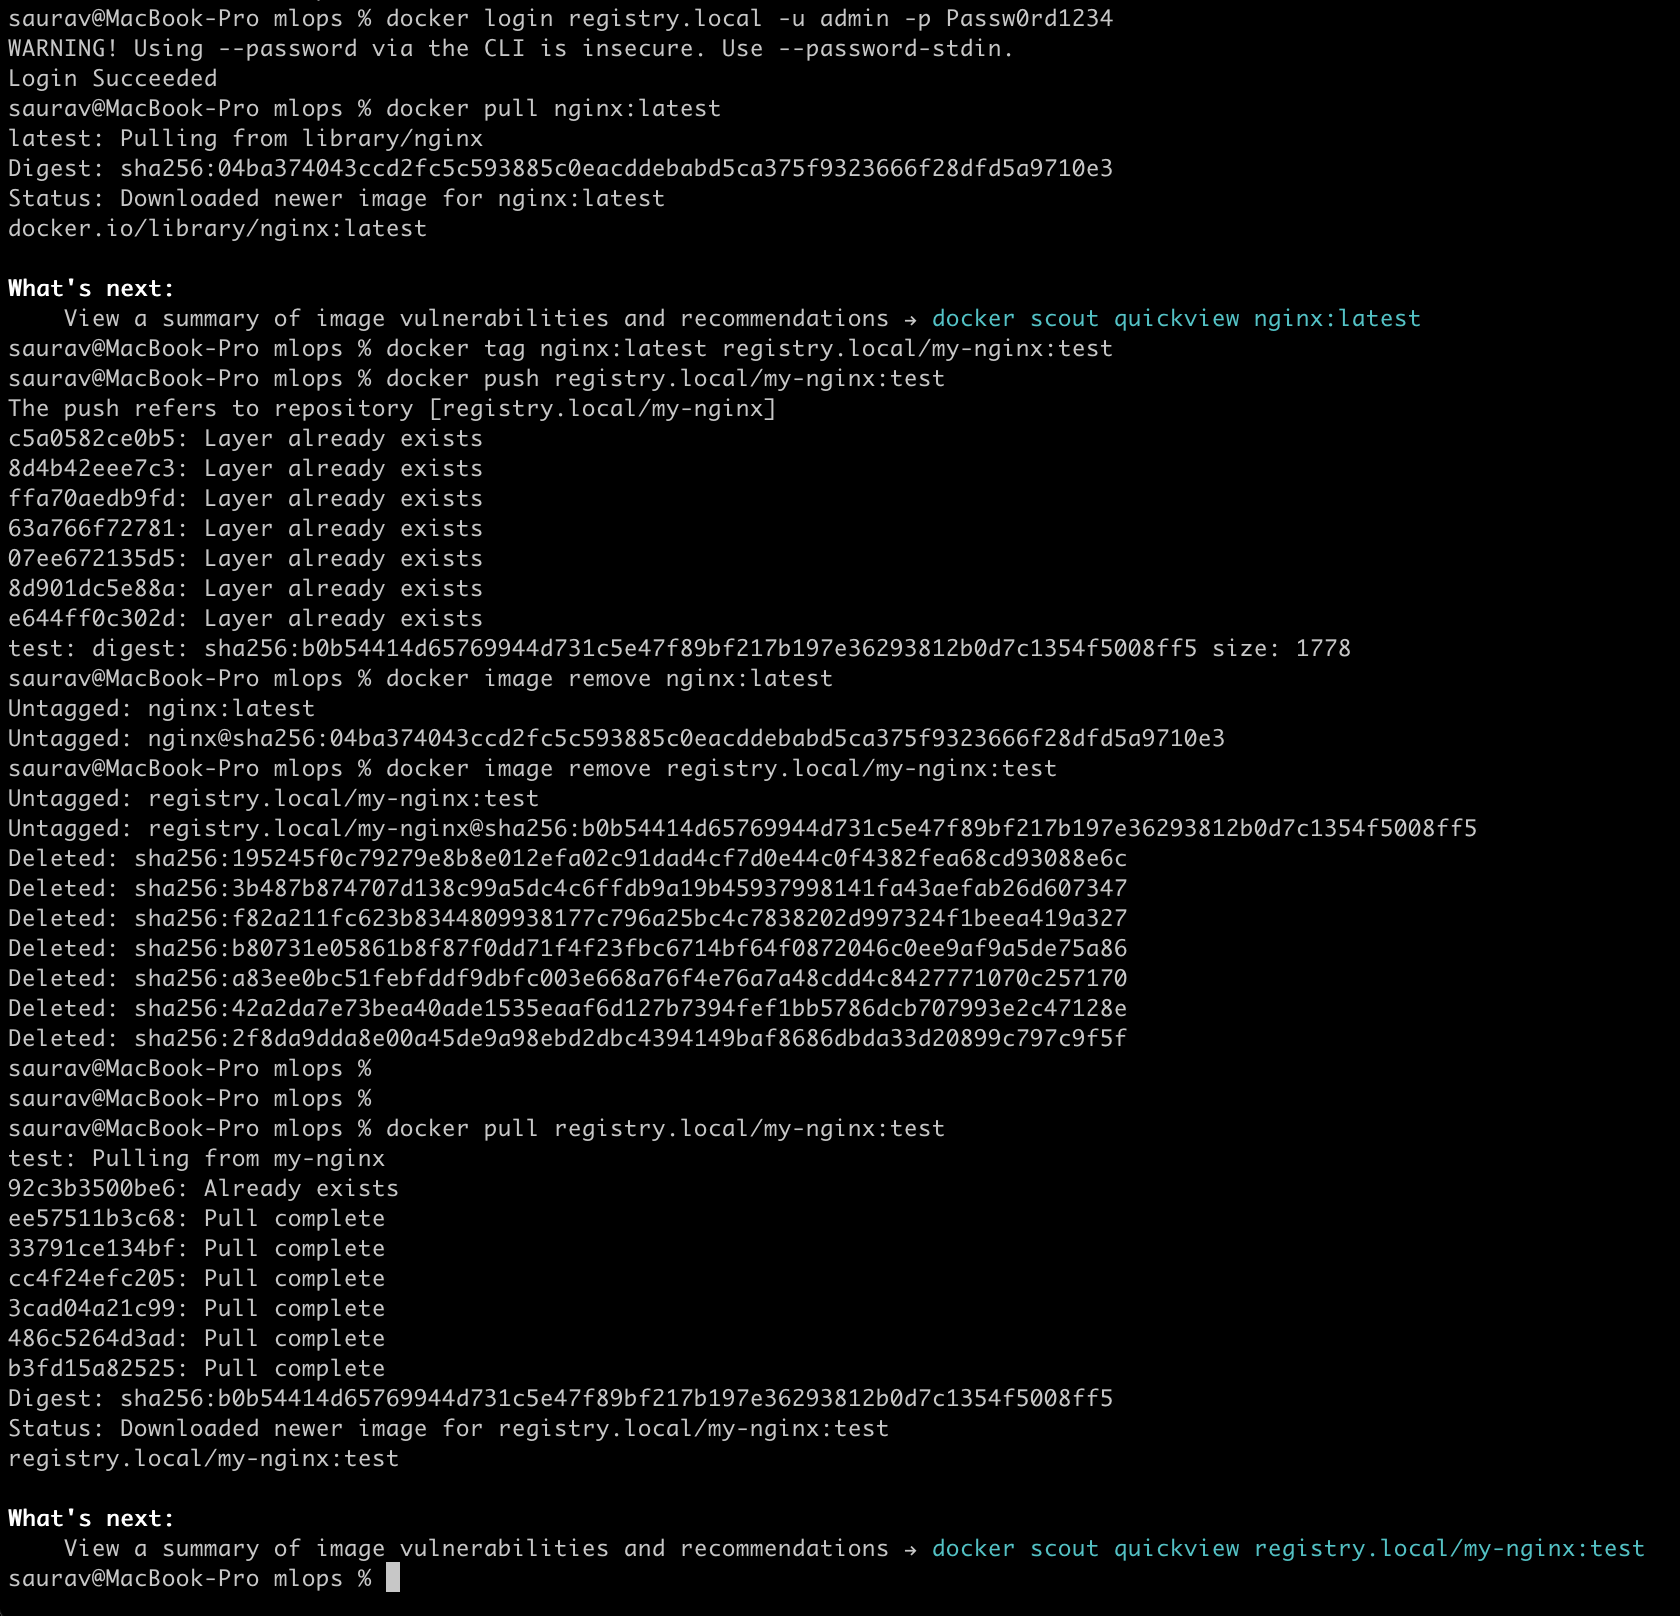
Finally, test your setup by pushing and pulling Docker images from your private registry:
Test Authentication
docker login registry.local -u admin -p Passw0rd1234Ensure you get the message Login Succeeded
Test Image Push
docker pull nginx:latest
docker tag nginx:latest registry.local/my-nginx:test
docker push registry.local/my-nginx:test
If you encounter an error message saying "413 Request Entity Too Large" you will need to modify the property proxy-body-size of Nginx Ingress Controller. For large image files, adjust Nginx settings to handle them.
For example-
helm upgrade --install ingress-nginx ingress-nginx \
  --repo https://kubernetes.github.io/ingress-nginx \
  --namespace ingress-nginx --create-namespace \
  --set controller.config.proxy-body-size=0
Test Image Pull
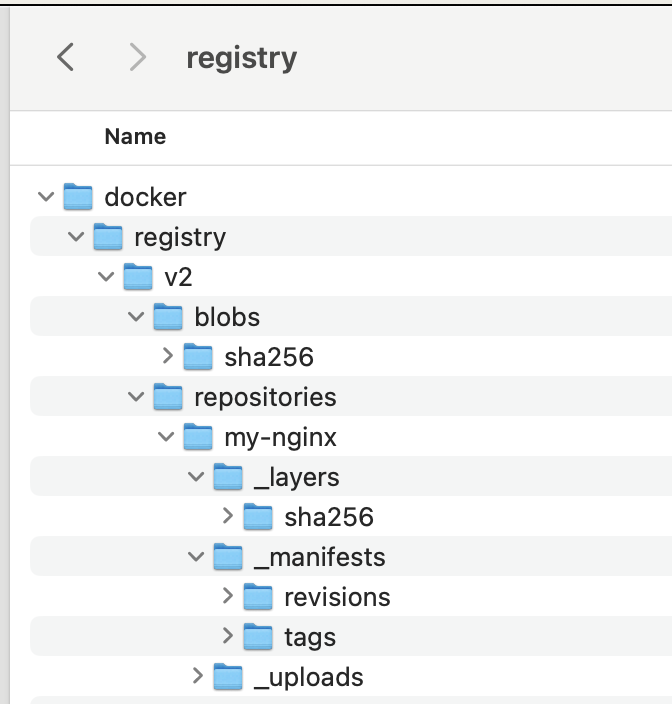
Verify that the image is stored in your registry and can be pulled back into any environment.
# Remove Locally cached Images First
docker image remove nginx:latest
docker image remove registry.local/my-nginx:test

docker pull registry.local/my-nginx:test
By setting up a private local container registry with Docker Distribution Registry, you gain full control over your container image management. This setup provides a secure and efficient way to store and retrieve Docker images, especially for organizations focused on performance and privacy.

