Kubernetes Dashboard with Docker Desktop
Kubernetes has become the go-to orchestration platform for containerized applications, providing robust capabilities to manage large-scale deployments. One essential tool within the Kubernetes ecosystem is the Kubernetes Dashboard, a web-based interface that allows users to manage and monitor their Kubernetes clusters. In this article, we will explore how to set up and use the Kubernetes Dashboard with Docker Desktop.
Docker Desktop
Ensure you have Docker Desktop installed and running on your machine. Docker Desktop includes a single-node standalone Kubernetes cluster that runs locally within a Docker container on your local machine (non configurable), and is ideal for local application testing.
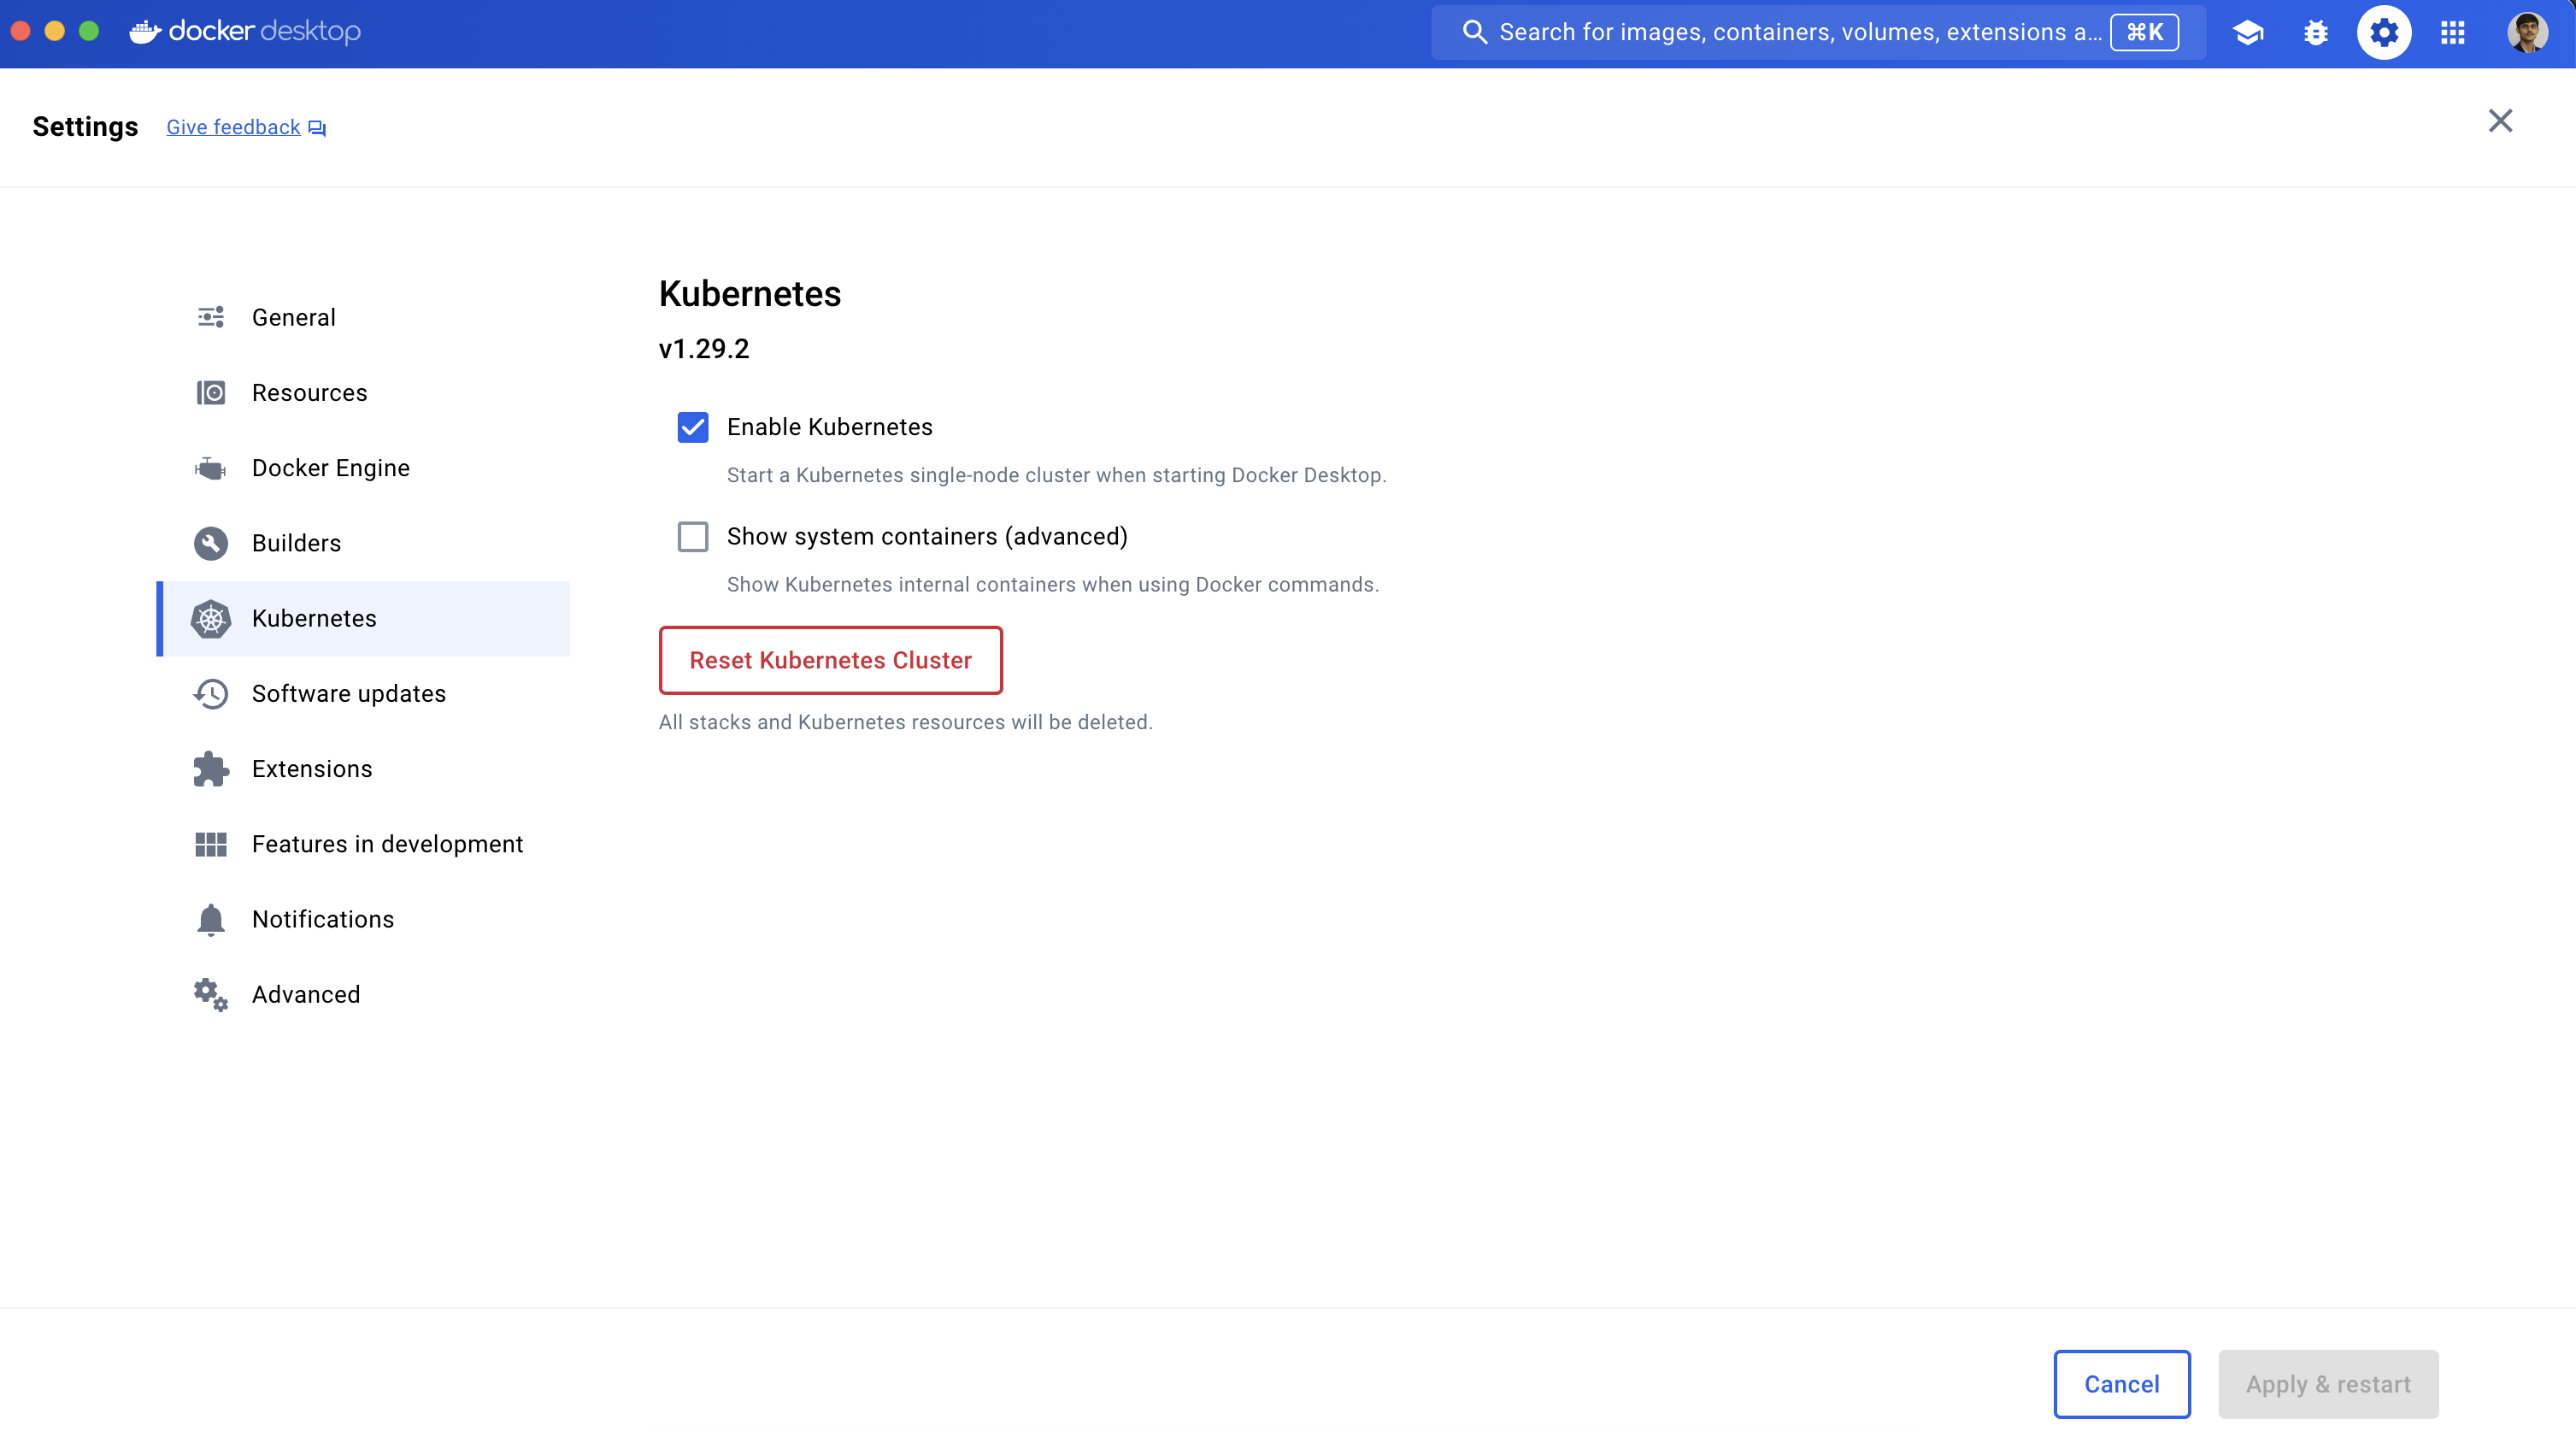
You can easily enable Kubernetes using the Docker Dashboard settings, under Kubernetes from the sidebar, Apply & Restart, then Install.
Install Kubectl
kubectl is a command line tool for communicating with a Kubernetes cluster's control plane, using the Kubernetes API.
brew install kubectl
# brew install kubernetes-cli

kubectl version --client
Set Kubeconfig Context
Set the kubeconfig context to docker-desktop.
kubectl config get-contexts
kubectl config use-context docker-desktop
Test Kubernetes Cluster
Let us now test the Kubernetes cluster by listing the available nodes.
kubectl cluster-info

kubectl get nodes
This command should display information about the Kubernetes master and other components, confirming that your cluster is up and running.
Install Helm
Helm is the package manager for Kubernetes.
brew install helm
helm version
Install NGINX Ingress Controller
ingress-nginx is an Ingress controller for Kubernetes using NGINX as a reverse proxy and load balancer. Let us install the nginx ingress controller using Helm.
helm upgrade --install ingress-nginx ingress-nginx \
  --repo https://kubernetes.github.io/ingress-nginx \
  --namespace ingress-nginx --create-namespace
It will install the controller in the ingress-nginx namespace, creating that namespace if it doesn't already exist.


Install Kubernetes Metrics Server
Kubernetes Metrics Server is a cluster-wide aggregator of resource usage data, providing metrics like CPU and memory usage for nodes and pods to facilitate autoscaling and monitoring within a Kubernetes cluster.
Let us install the metrics-server using Helm. We need to also add the --kubelet-insecure-tls argument to disable Kubelet certificate validation.
helm upgrade --install metrics-server metrics-server \
  --repo https://kubernetes-sigs.github.io/metrics-server/ \
  --set 'args[0]=--kubelet-insecure-tls' \
  --namespace kube-system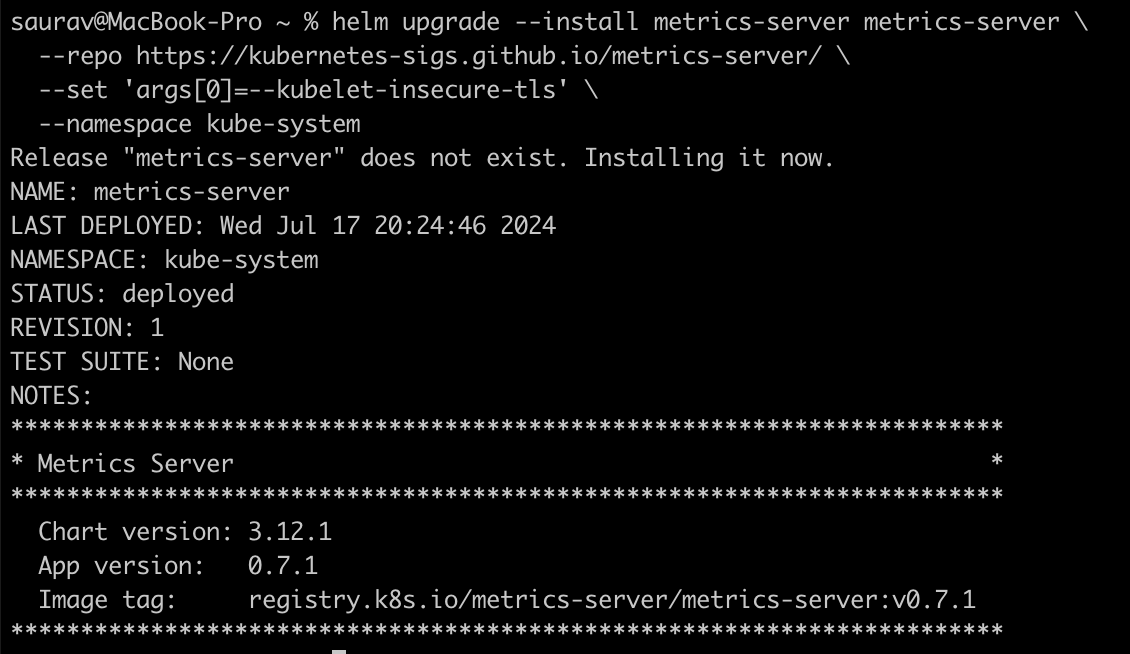
kubectl -n kube-system get deployment metrics-server -o yaml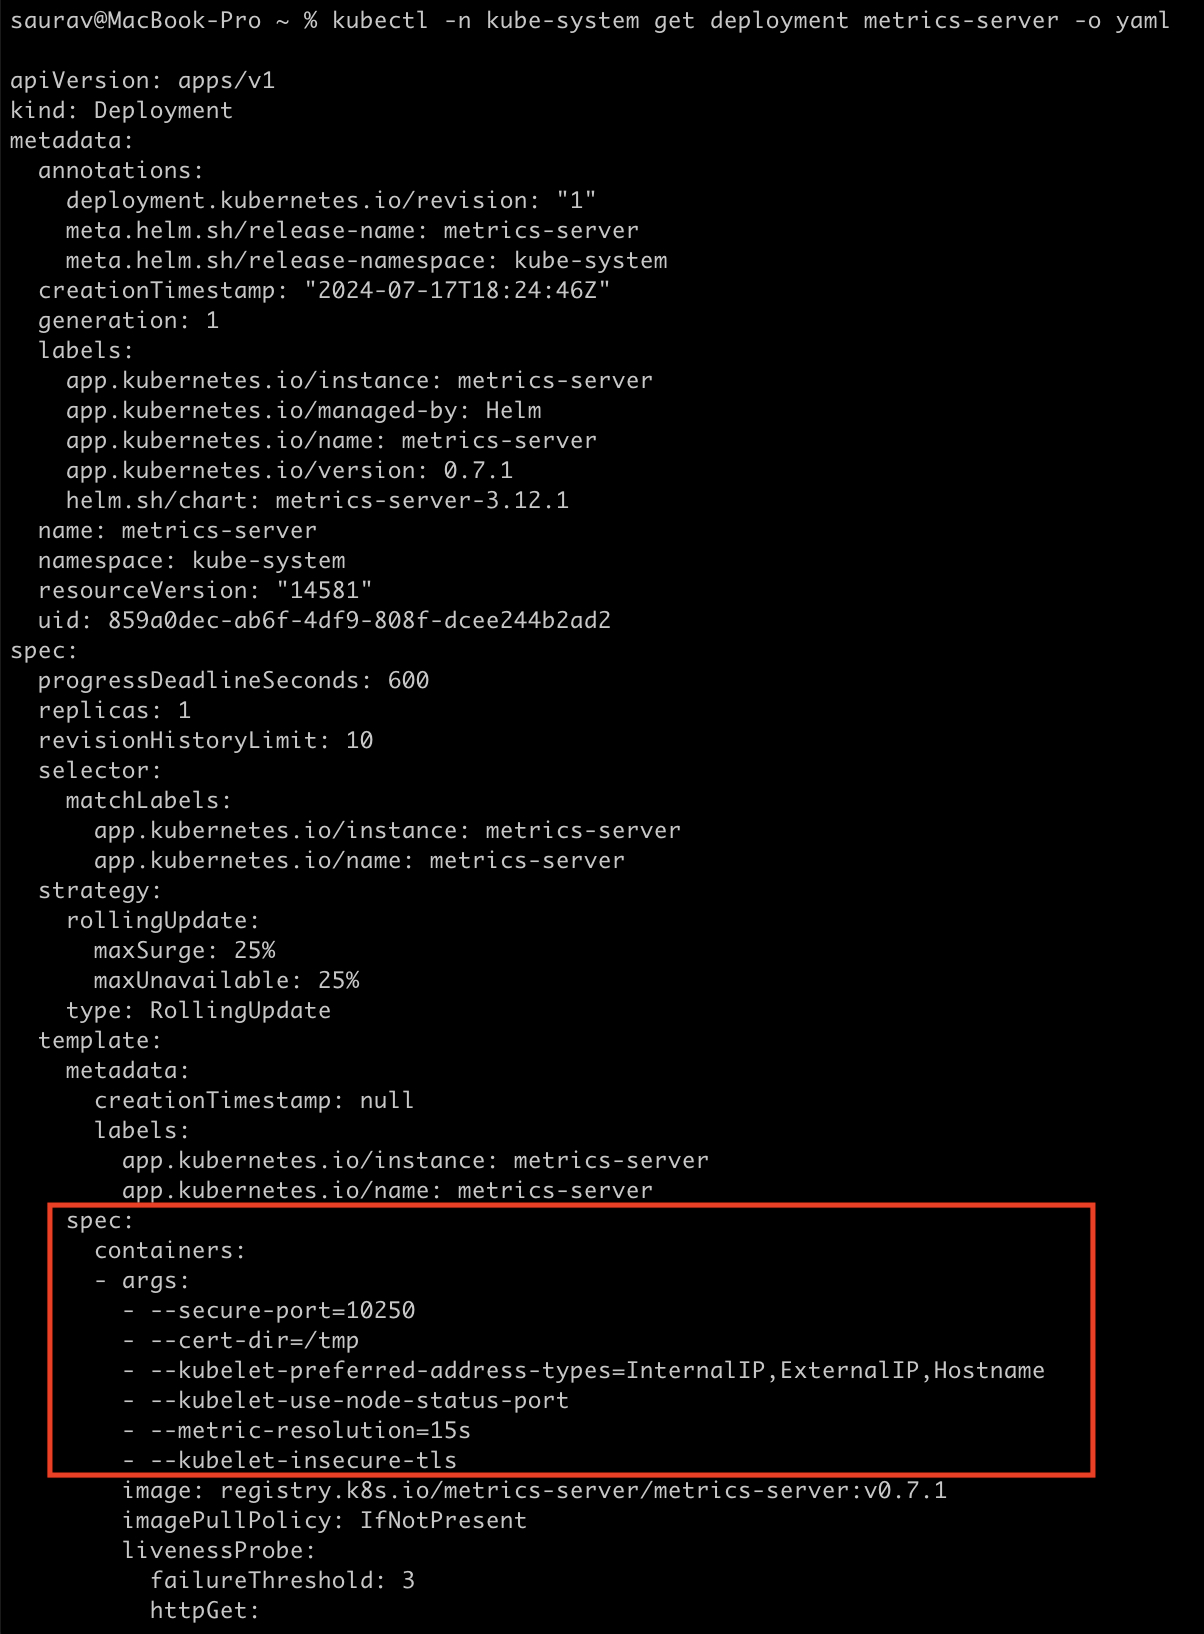
Install Kubernetes Dashboard
Kubernetes Dashboard is a general purpose, web-based UI for Kubernetes clusters. It allows users to manage applications running in the cluster and troubleshoot them, as well as manage the cluster itself.
Use the following command to install the Kubernetes Dashboard with nginx ingress enabled:
helm upgrade --install kubernetes-dashboard kubernetes-dashboard \
  --repo https://kubernetes.github.io/dashboard/ \
  --namespace kubernetes-dashboard --create-namespace \
  --set app.ingress.enabled=true \
  --set app.ingress.ingressClassName=nginx \
  --set "app.ingress.hosts[0]=kubernetes-dashboard.local"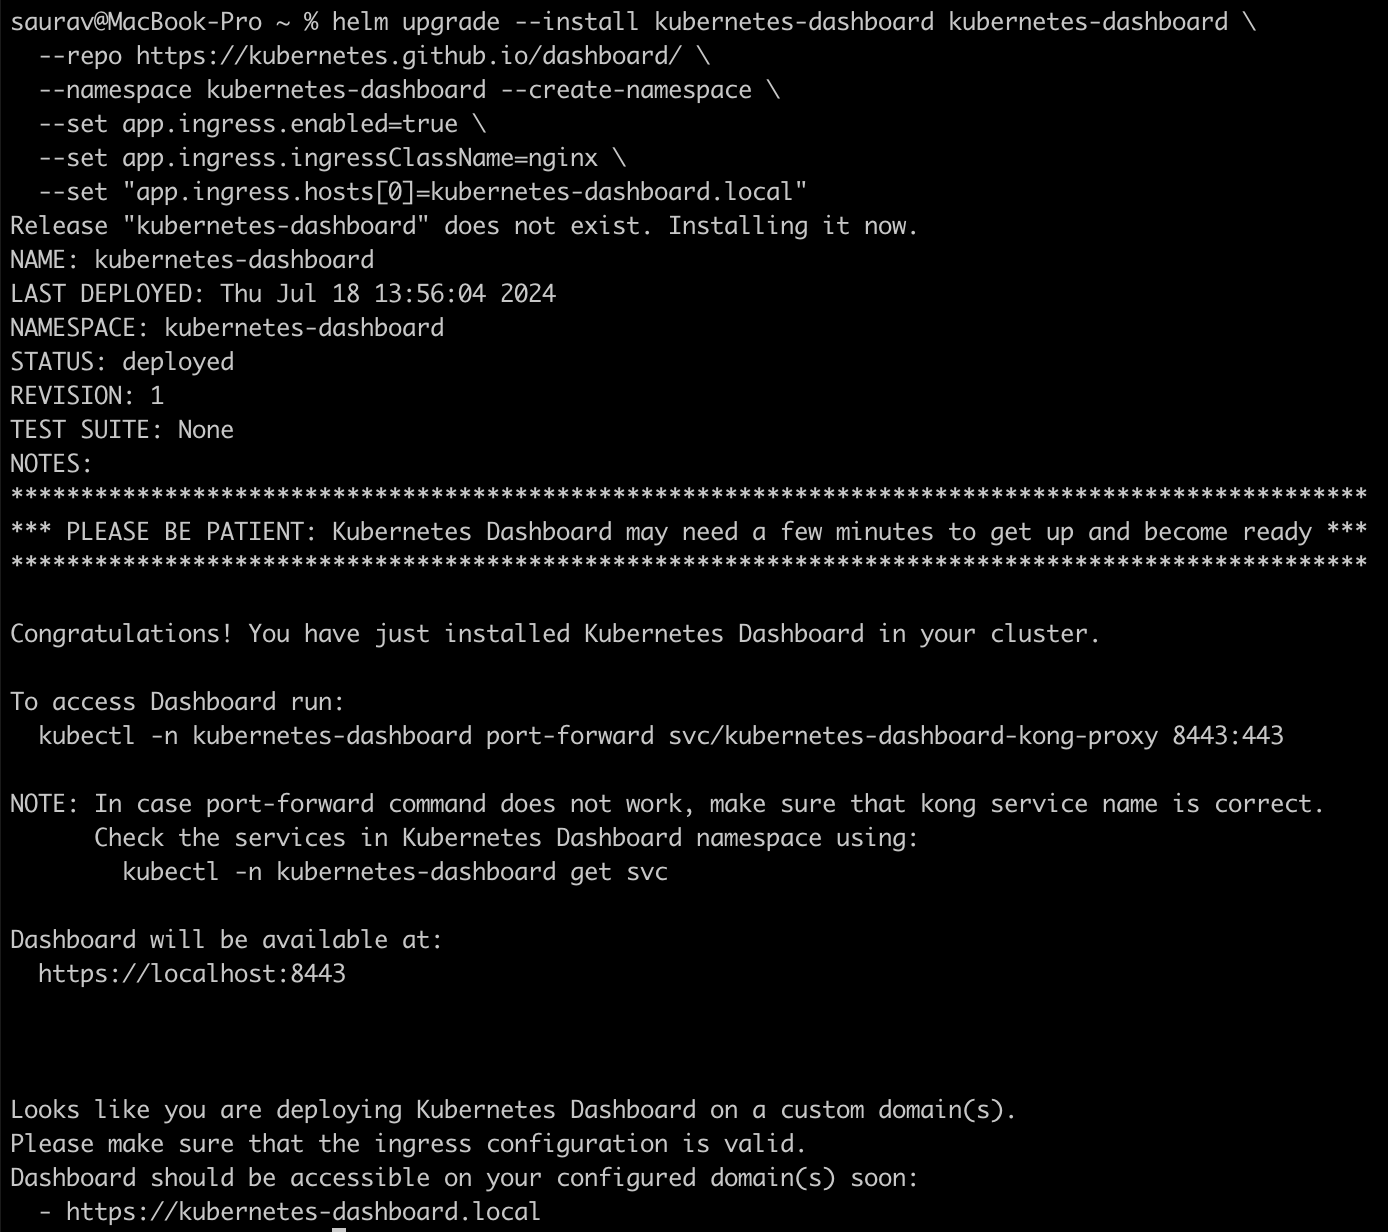
Update /etc/hosts file
To access the dashboard using kubernetes-dashboard.local, you need to add an entry to your /etc/hosts file:
Add the following line:
127.0.0.1 kubernetes-dashboard.localCreate Admin User
To access the dashboard, you need to create a service account and bind it with the necessary roles and grant this user admin permissions and login to Kubernetes Dashboard using a bearer token tied to this user.
Create Service Account
Let us first create a Service Account with the name dashboard-admin in the kubernetes-dashboard namespace.
sa.yaml
apiVersion: v1
kind: ServiceAccount
metadata:
  name: dashboard-admin
  namespace: kubernetes-dashboard
kubectl apply -f sa.yamlCreating a ClusterRoleBinding
Next we will create a ClusterRoleBinding for the ServiceAccount to cluster-admin ClusterRole.
crb.yaml
apiVersion: rbac.authorization.k8s.io/v1
kind: ClusterRoleBinding
metadata:
  name: dashboard-admin
roleRef:
  apiGroup: rbac.authorization.k8s.io
  kind: ClusterRole
  name: cluster-admin
subjects:
- kind: ServiceAccount
  name: dashboard-admin
  namespace: kubernetes-dashboard
kubectl apply -f crb.yamlCreate a Bearer Token
Finally we will create a bearer token for the ServiceAccount to login to Kubernetes Dashboard. We will create a long lived token saved in a secret which bound the service account and the token.
secret.yaml
apiVersion: v1
kind: Secret
metadata:
  name: dashboard-admin
  namespace: kubernetes-dashboard
  annotations:
    kubernetes.io/service-account.name: "dashboard-admin"
type: kubernetes.io/service-account-token
kubectl apply -f secret.yamlNow execute the following command to retrieve the token for login.
kubectl get secret dashboard-admin -n kubernetes-dashboard -o jsonpath={".data.token"} | base64 -dAccess Kubernetes Dashboard
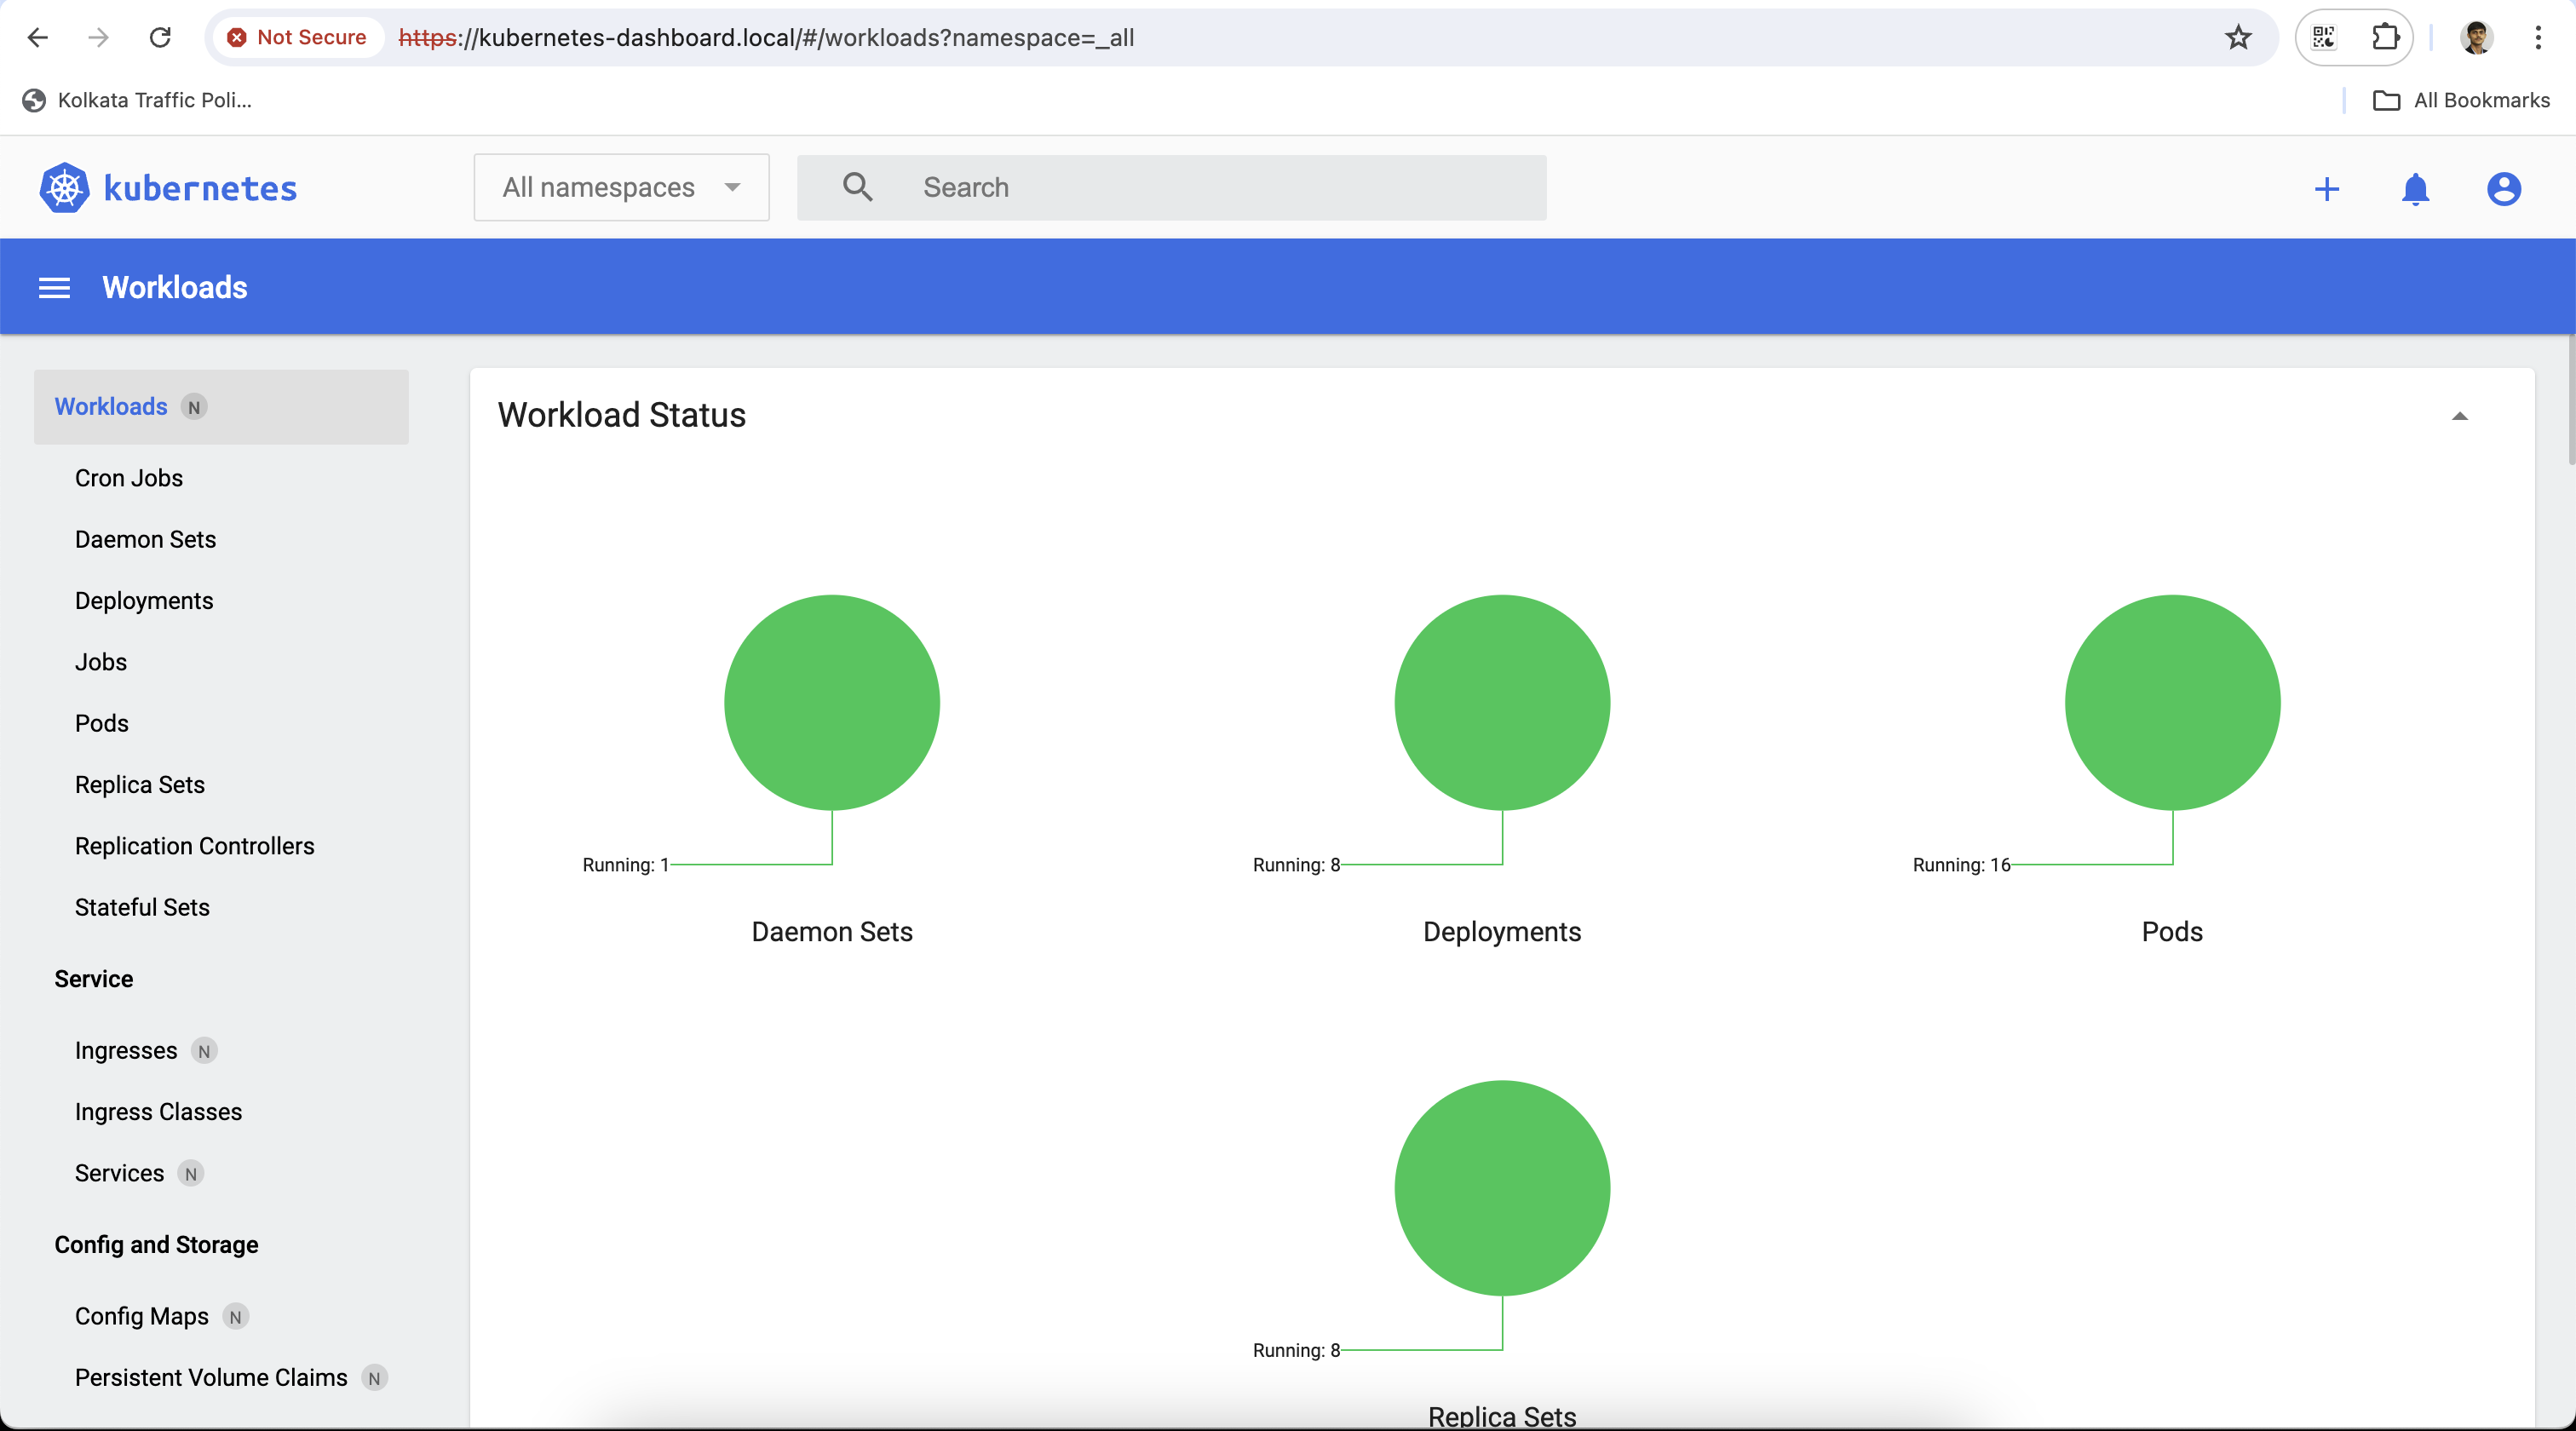
After completing these above steps, you should be able to access the Kubernetes Dashboard at https://kubernetes-dashboard.local and when prompted, enter the bearer token obtained in the previous step to log in.
Navigating the Kubernetes Dashboard
Once logged in, you will see the main dashboard interface. Here are some key areas to explore:
- Workloads: Allows you to view and manage deployments, replica sets, jobs, and cron jobs.
- Services and Ingress: Manage your services and ingress resources, essential for exposing your applications.
- Config and Storage: Access and manage config maps, secrets, persistent volume claims, and storage classes.
- Namespace Management: Switch between different namespaces to view and manage resources specific to each namespace.
Conclusion
The Kubernetes Dashboard is a powerful tool that simplifies cluster management and monitoring. By following the steps outlined in this guide, you can easily set up the Kubernetes Dashboard on Docker Desktop and start leveraging its capabilities.

