Docker Elasticsearch Container

Are you looking to set up a Elasticsearch container using Docker on your MacOS machine? Look no further! In this article, we'll walk you through the process of creating and configuring a Docker Elasticsearch container, along with Kibana.
Step 1: Create an Environment File
The first step is to create an environment file that will store our database password.
.env
DB_PASSWORD=Password1234This file will be used to set the ELASTIC_PASSWORD environment variable in our Docker container.
Step 2: Create a Docker Compose File
Next, we'll create a Docker compose file that defines our Elasticsearch & Kibana containers.
elk-docker-compose.yml
version: '3.9'

services:
  elasticsearch:
    # Apple M1 Chip
    # platform: linux/amd64
    image: elasticsearch:7.17.10
    container_name: elasticsearch
    restart: always
    env_file:
      - .env
    environment:
      bootstrap.memory_lock: "true"
      discovery.type: single-node
      ES_JAVA_OPTS: -Xms512m -Xmx512m
      ELASTIC_PASSWORD: $DB_PASSWORD
      xpack.security.enabled: "true"
      cluster.name: elasticsearch_cluster
    ulimits:
      memlock:
        soft: -1
        hard: -1
    ports:
      - 9200:9200
      - 9300:9300
    volumes:
      - elasticsearch_datadir:/usr/share/elasticsearch/data
    networks:
      - elk-network

  kibana:
    # Apple M1 Chip
    # platform: linux/amd64
    image: kibana:7.17.10
    container_name: kibana
    restart: always
    env_file:
      - .env
    environment:
      KS_JAVA_OPTS: -Xms512m -Xmx512m
      ELASTICSEARCH_HOSTS: http://elasticsearch:9200
      ELASTICSEARCH_USERNAME: elastic
      ELASTICSEARCH_PASSWORD: $DB_PASSWORD
      XPACK_SECURITY_ENABLED: "true"
    ports:
      - 5601:5601
    volumes:
      - kibana_datadir:/usr/share/kibana/data
    networks:
      - elk-network
    depends_on:
      - elasticsearch

networks:
  elk-network:
    driver: bridge

volumes:
  elasticsearch_datadir:
  kibana_datadir:
This file defines two services, elasticsearch and kibana, which uses the official elasticsearch 7.17.10 & kibana:7.17.10 images.
Step 3: Start the Container
Now that we have our environment file and Docker compose file set up, it's time to start the containers! Run the following command:
docker-compose -f elk-docker-compose.yml up -dThis will start the containers in detached mode, meaning they will run in the background.
Step4: Test Elasticsearch Container
Once the containers are running, we can test our Elasticsearch instance using the following commands:
Note: you should have curl command line tool installed locally.
db_password=Password1234

curl -X GET -u elastic:${db_password} http://127.0.0.1:9200/_cat/health?v=true&pretty

curl -X GET -u elastic:${db_password} http://127.0.0.1:9200/_cat/nodes?v=true&pretty

curl -X GET -u elastic:${db_password} http://127.0.0.1:9200/_cat/indices?v=true&pretty
Now let us create a new index.
curl -X PUT -H "Content-Type: application/json" -u elastic:${db_password} http://127.0.0.1:9200/product -d '
{
  "settings": {
    "number_of_replicas": 1,
    "number_of_shards": 1
  },
  "mappings":{
    "properties": {
      "name" : { "type" : "text" },
      "description": {"type": "text"},
      "uom": {"type" : "text"},
      "price": {"type": "integer"},
      "created_at": {"type": "date"}
    }
  }
}
'
Now let's add a document to the index.
curl -X PUT -H "Content-Type: application/json" -u elastic:${db_password} http://127.0.0.1:9200/product/_doc/1?pretty -d '
{
  "name": "MS T-Shirt",
  "description": "Mens Summer T-Shirt",
  "uom": "Piece",
  "price": 299,
  "created_at": "2023-01-01T10:22:33"
}
'
Finally, let's validate the index and documents.
curl -X GET -u elastic:${db_password} http://127.0.0.1:9200/product?pretty=true

curl -X GET -u elastic:${db_password} http://127.0.0.1:9200/product/_search?pretty=true
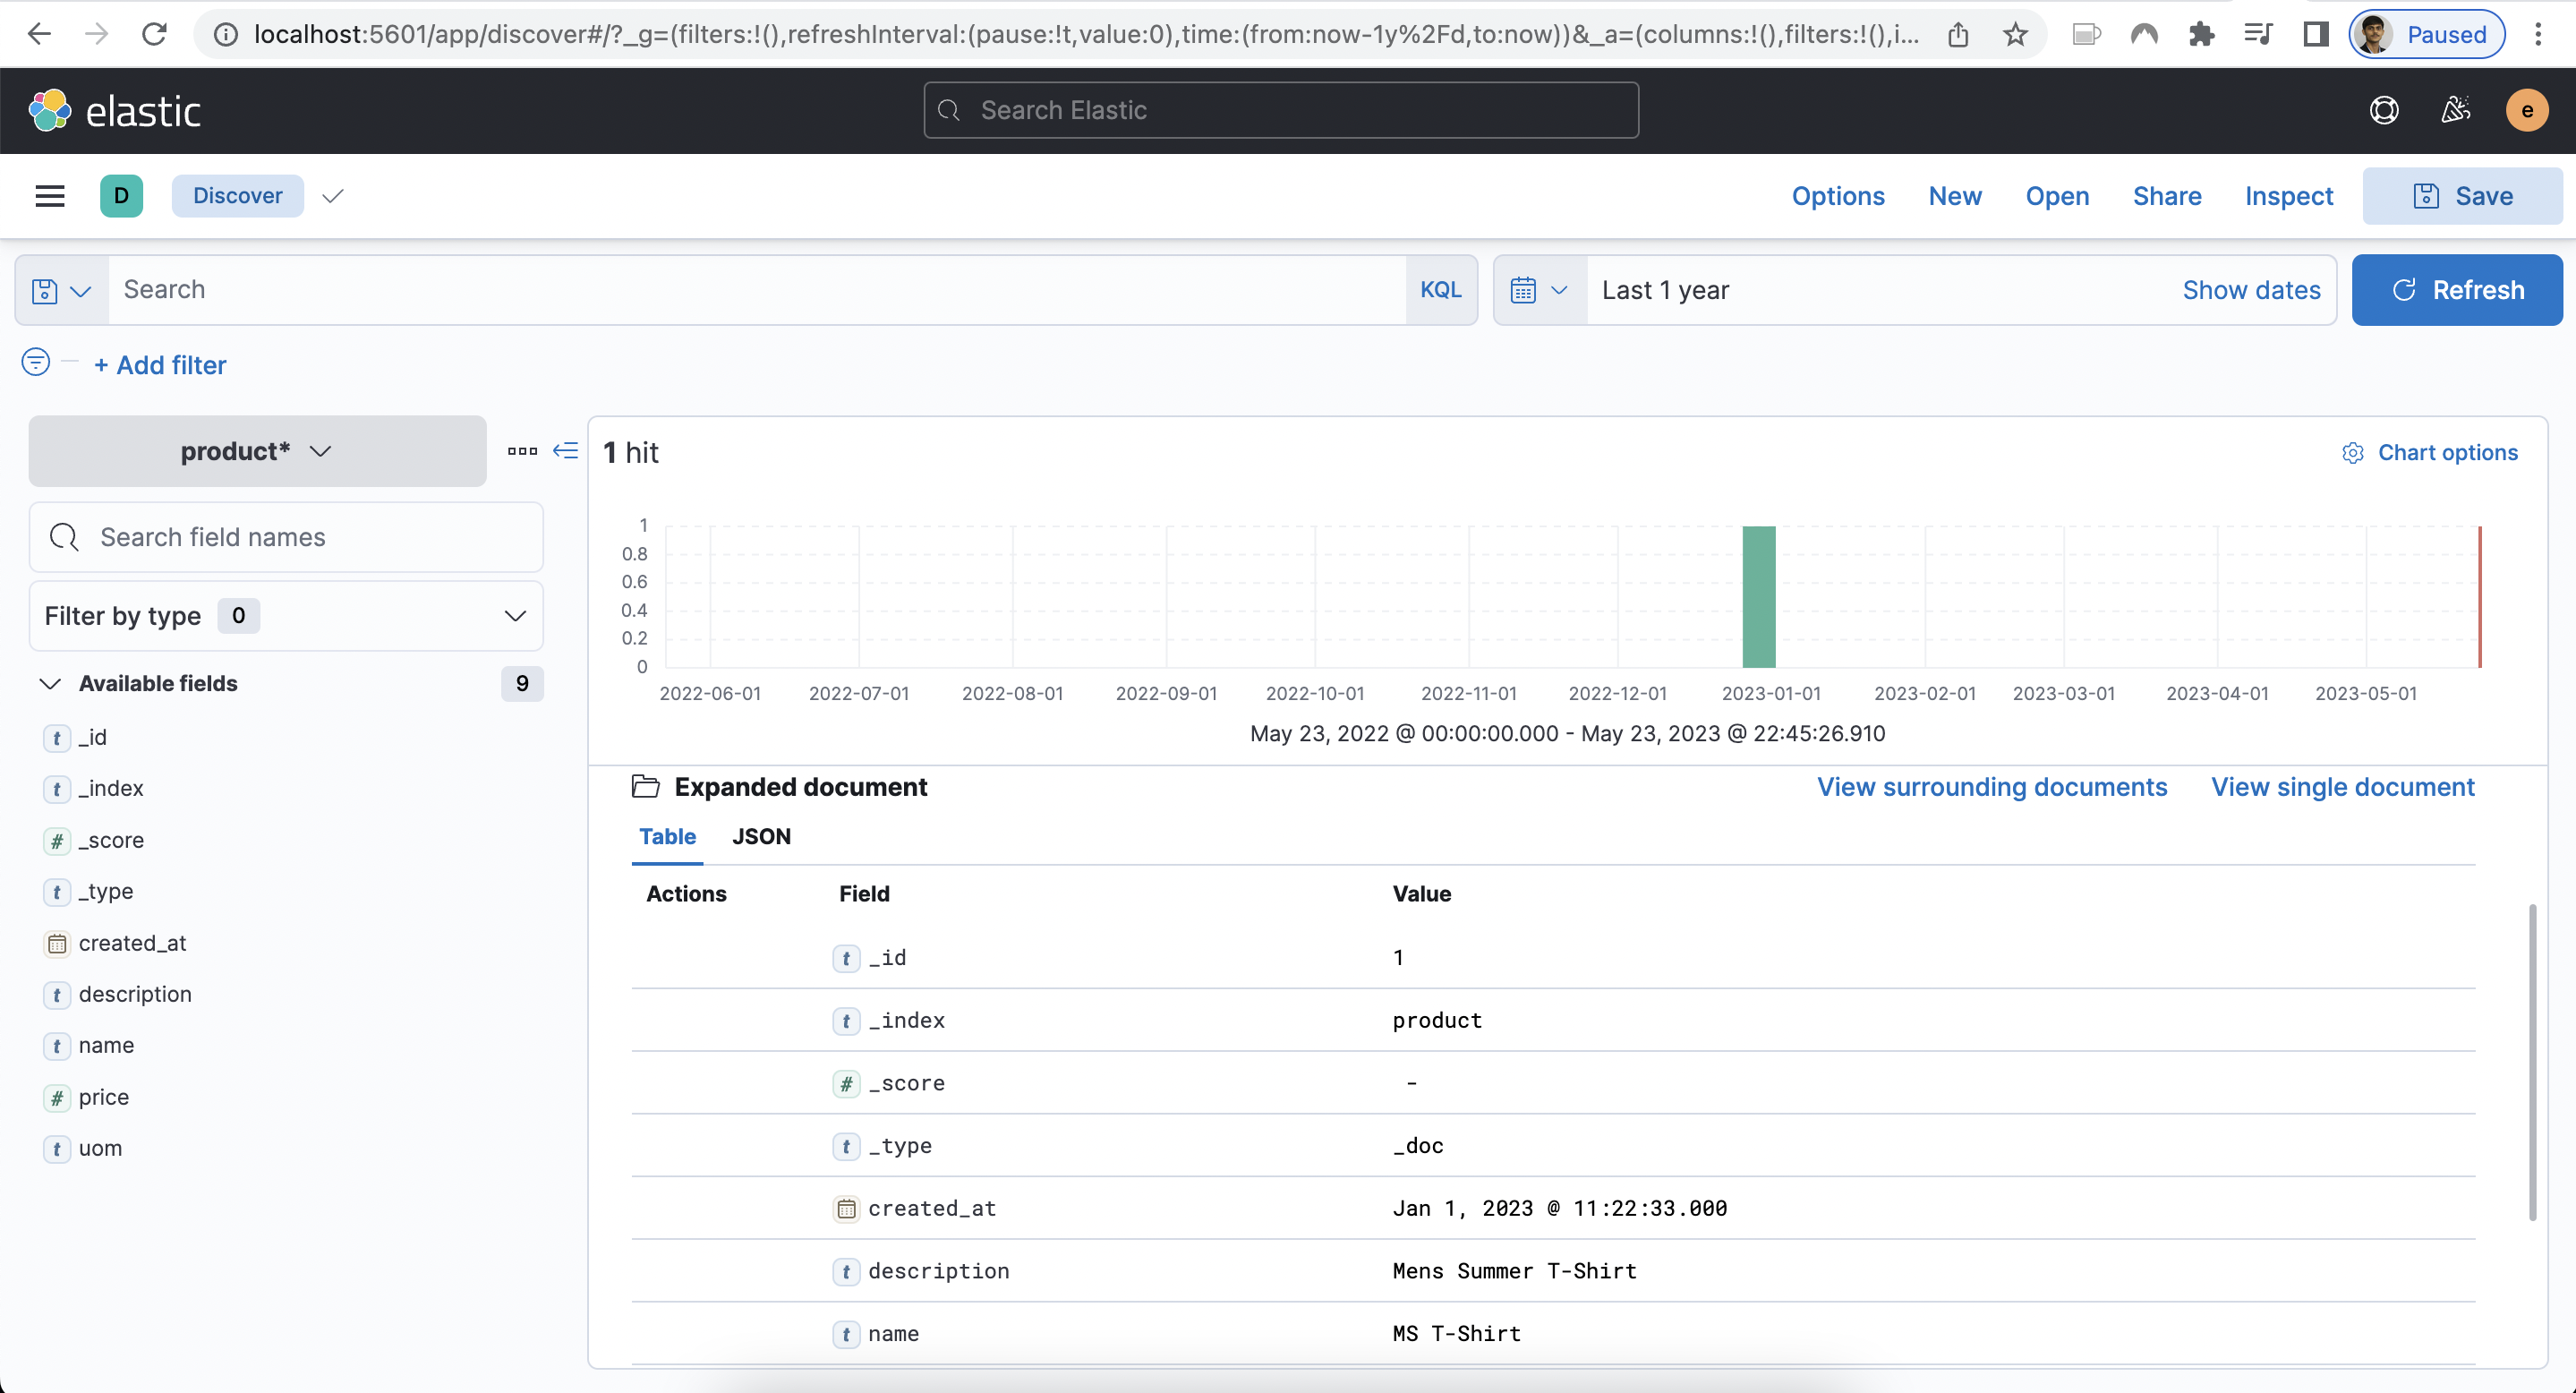
To access Kibana, simply navigate to http://localhost:5601 and log in with the elastic username and password.

Step 5: Stop the Container
Finally, we can stop the containers by running the following command:
docker-compose -f elk-docker-compose.yml downThis will stop the containers and remove them from memory.
That's it! We've successfully created and configured a Docker Elasticsearch with Kibana containers.

